This weeks task was to model a design studio and glass sculpture with Arnold textures and shaders.

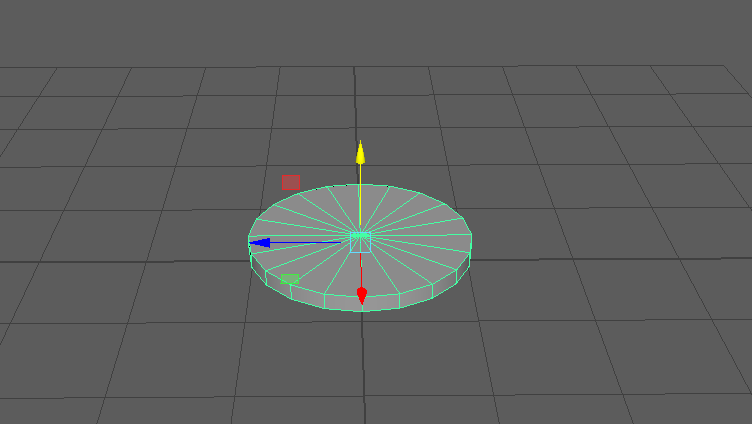
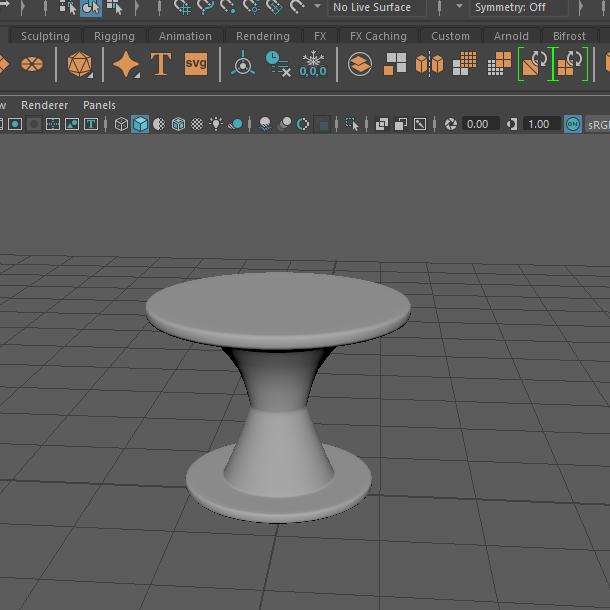
To begin, I added a cylinder poly shape to the grid and flattened it into a disk shape with the scale tool. This will be the start of creating the table model.
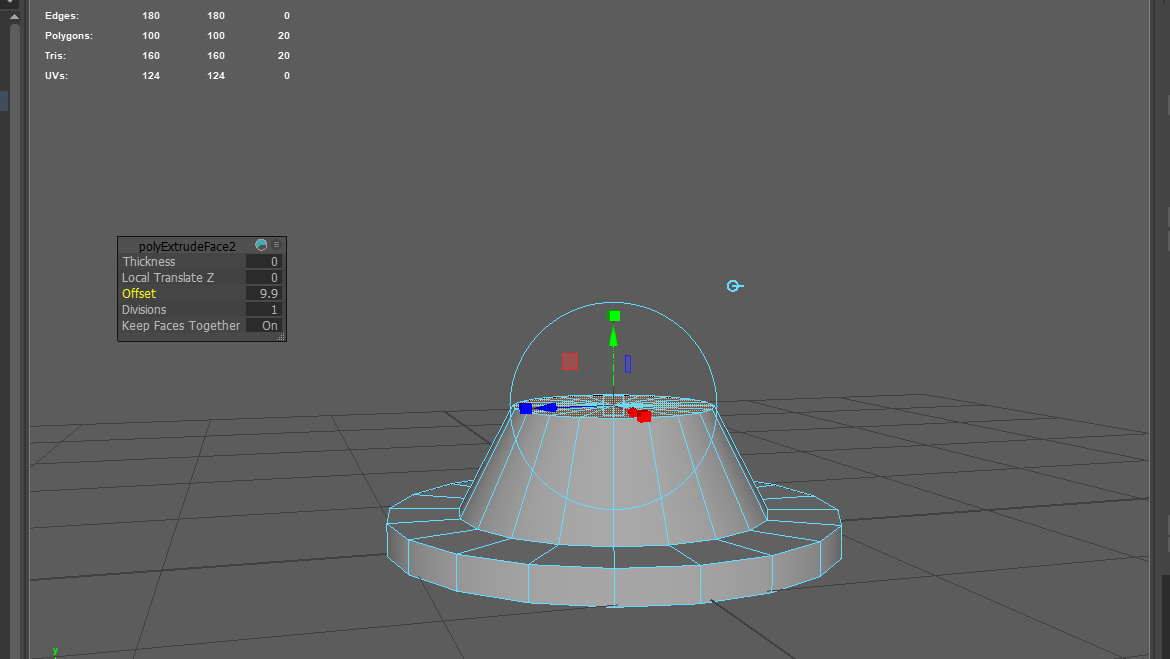
After I was happy with the right size of the bottom, I began to extrude the inner faces. This started by making the correct positioned offset for the bottom disk and then extruded those faces upwards, scaling them as slopes to create the shape that I was after.
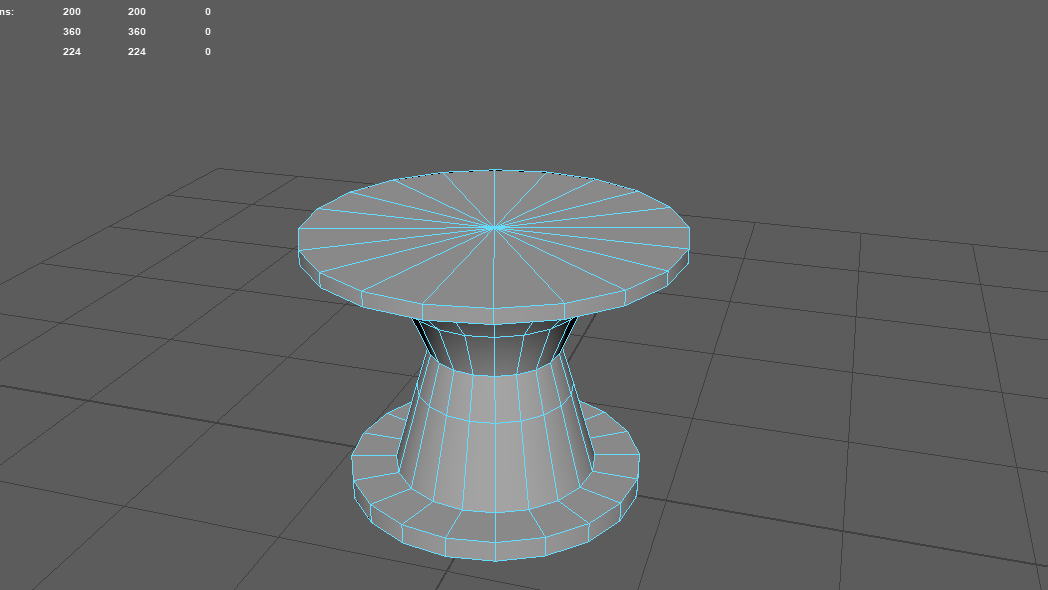
I continued to extrude upwards and kept changing the offsets to make these slopes. Some areas looked a bit to wide so I simply selected the vertex points of the shape and scaled it to how I wanted it. After this I added some edge loops to the table so when I smoothed it, it wouldn’t lose its structure.
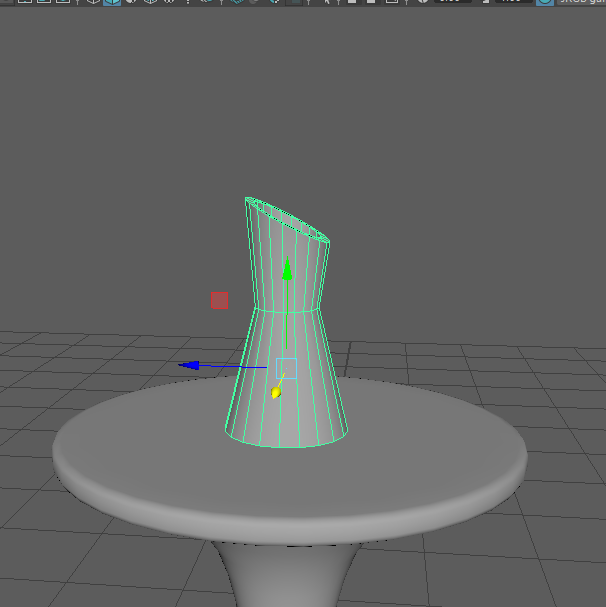
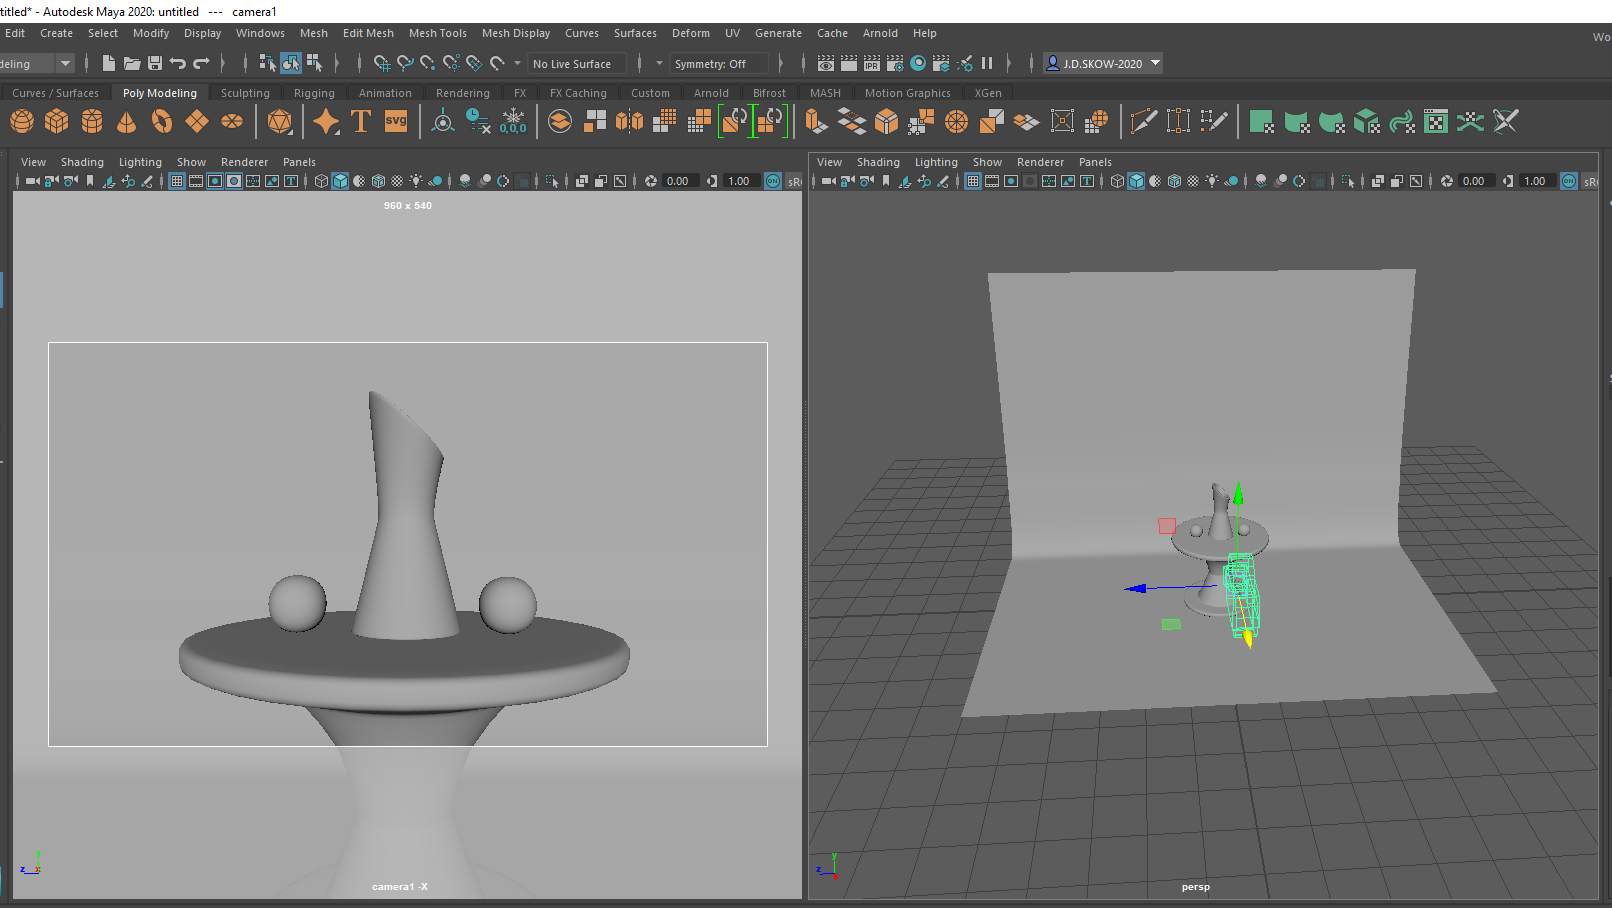
Once the table was made I began to construct a vase out of another cylinder poly. I extruded the top of the cylinder creating an edge within and then selected the faces of that loop to extrude down. It was difficult to gain the accurate position of inner loop at first so I enabled x ray mode for this as seen below.

Then I started to create the rest of the vase by scaling places making the edges slope in areas and extruding them.
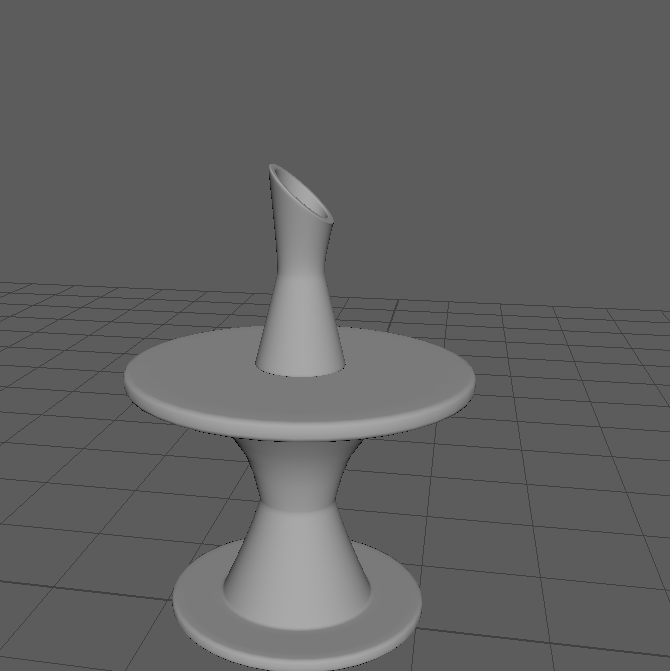
After I gained the shape I was looking for, I added the edge loops in all the correct places so it could be smoothed.
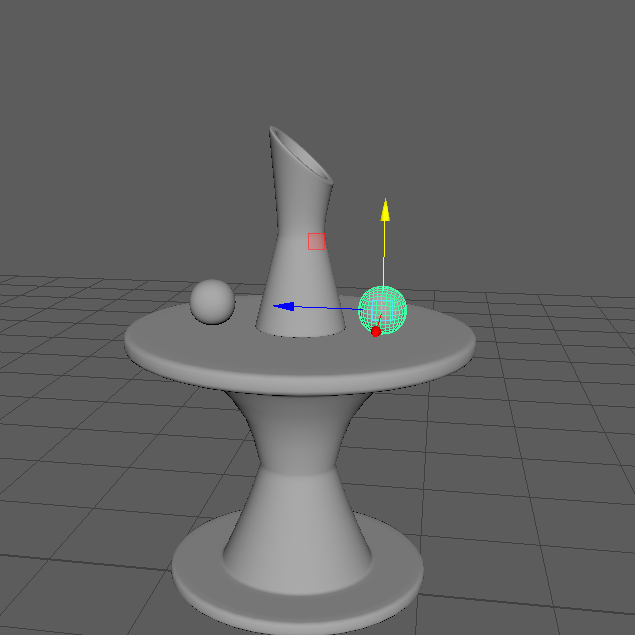
To create these spheres, I added a cube poly to the grid and then smoothed it by 3 divisions to make it. This was then duplicated and positioned correctly on top of the table at either side of the vase.
Having the models made now, I had to add a studio background to them so I used a poly plain model and scaled it out to the side it wanted. The one edge of this was brought upwards with a bevel added to create the slope in between.

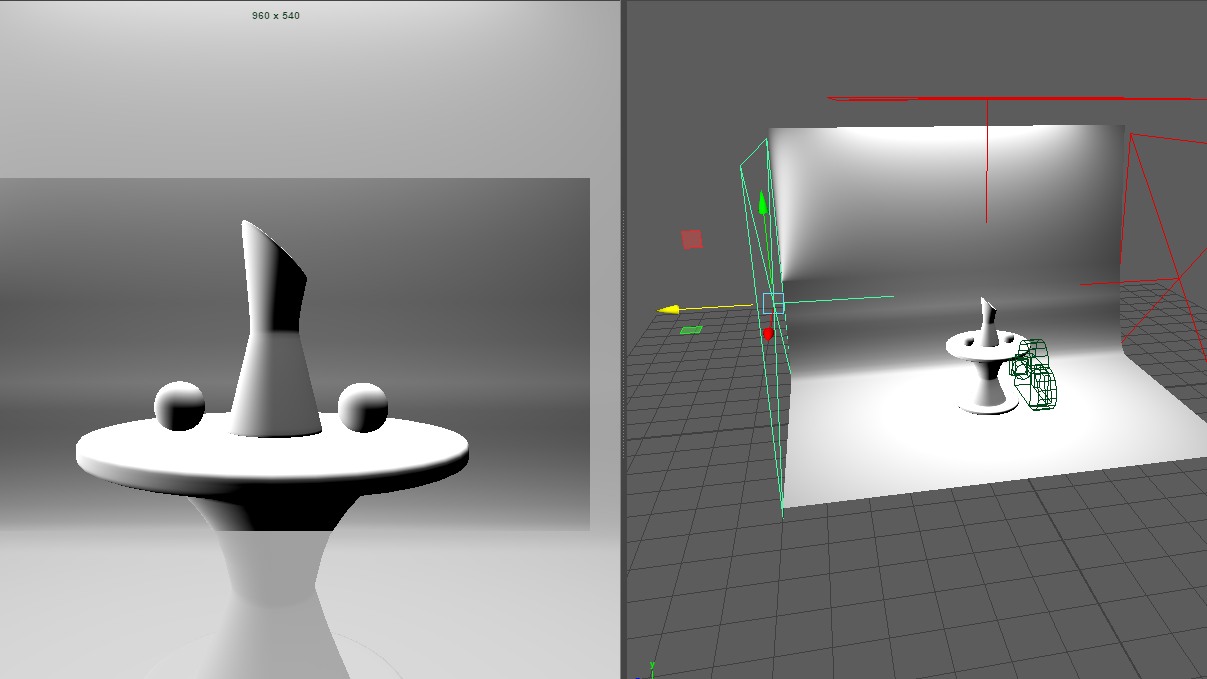
Now I had to set up a camera and the lighting.
Setting up the camera was fairly easy to execute as I had to only scale it and lock it into the correct position. The lighting was the most time consuming part as I had to get the right shadows into the right places so the object isn’t too dark or too light.
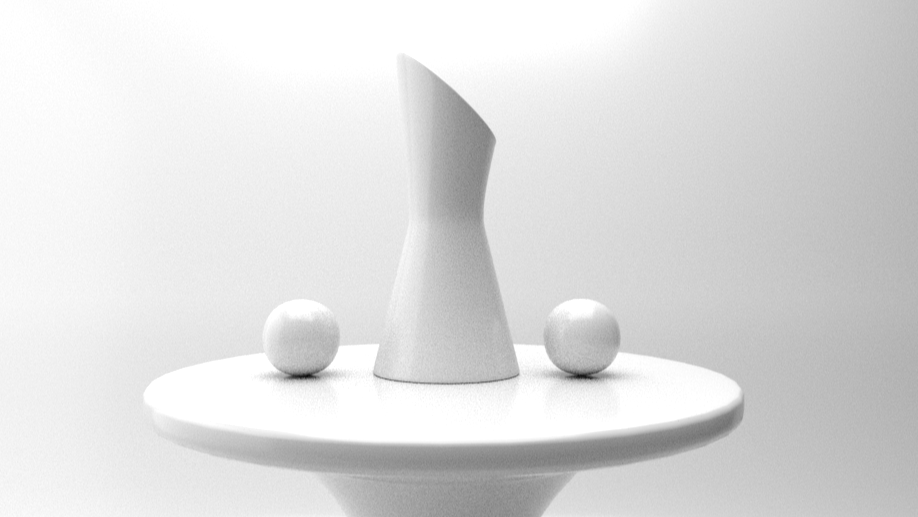
Once this was done I added an AI Surface Material to the models and rendered it to see how it was looking up to now. As you can see the models are beginning to look photo realistic with the shadows and light reflected from the objects.
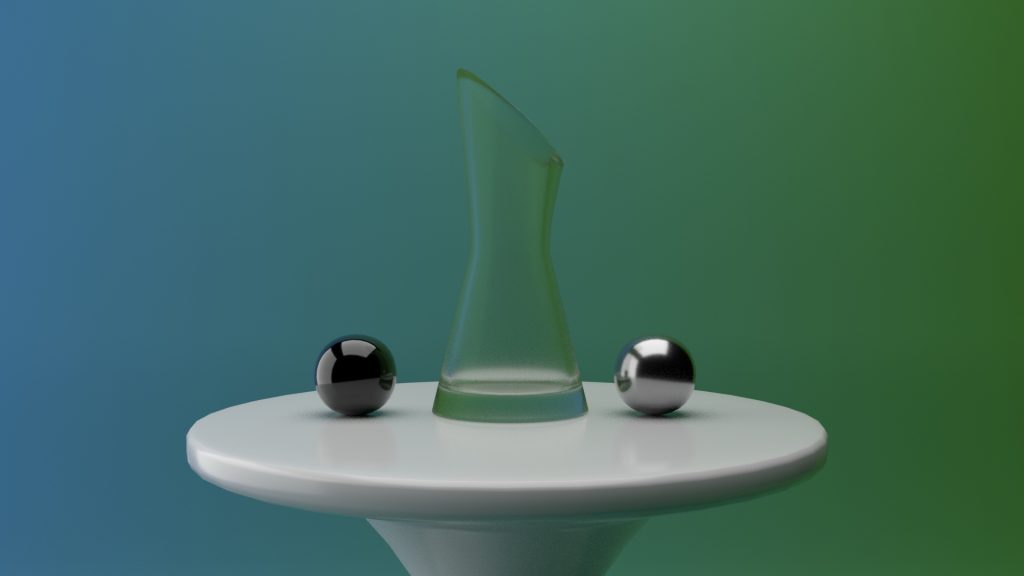
After I began to add the textures to the models. First I started with the metal balls on the table, one looking chrome and the other metallic. This was done by adding a new surface material and changing the colours slightly. To create the vase I had to do the same steps but change the weight of the object making it more transparent like glass, this took a while as i had to experiment with the shades of the colours so it wouldn’t lose its shape overall.
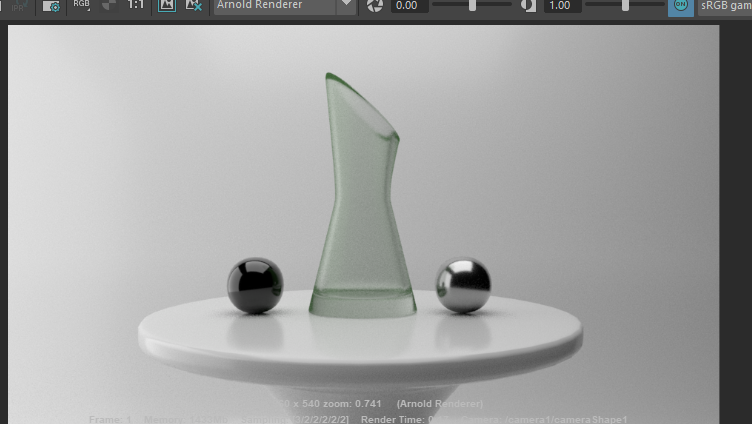
Finally I added a colour to the background by making a new surface material and using the ramp texture to create a soft harmonious blend of colours. At the end I set the resolution of the image to HD 1080 to get the best quality result.