
To begin, I started off by designing what type of sledgehammer that I wanted to make, using the software Sketchbook Pro to produce and branch visuals to mind.
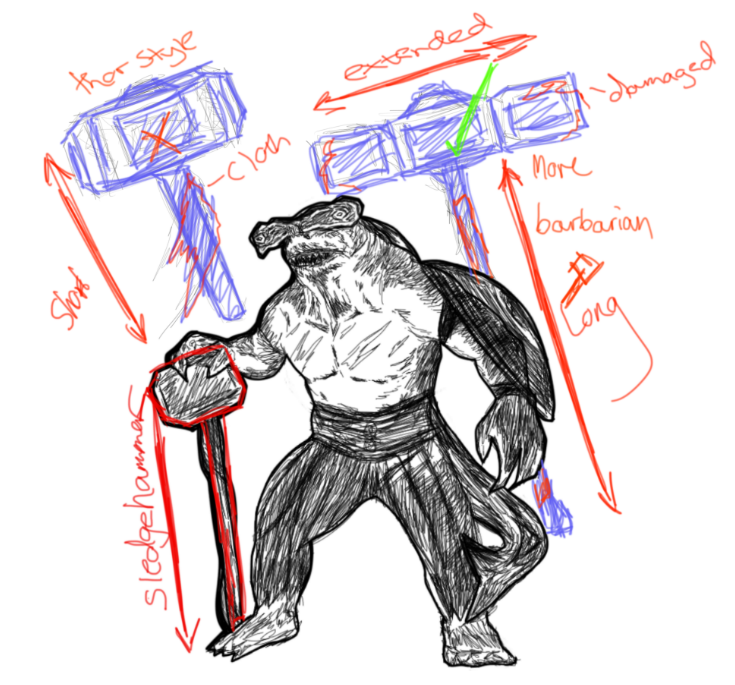
I wanted the hammer to be sturdy and tough like the character itself so I looked into different styles with materials of hammers and found the perfect match in mind. This visual of a long crafted stone sledgehammer was found while researching, I like the way it’s been assembled with the markings along the edges, when adding detail to mine I shall make fairly similar adjustments but alter it slightly to have a more damaged and dirty appearance.
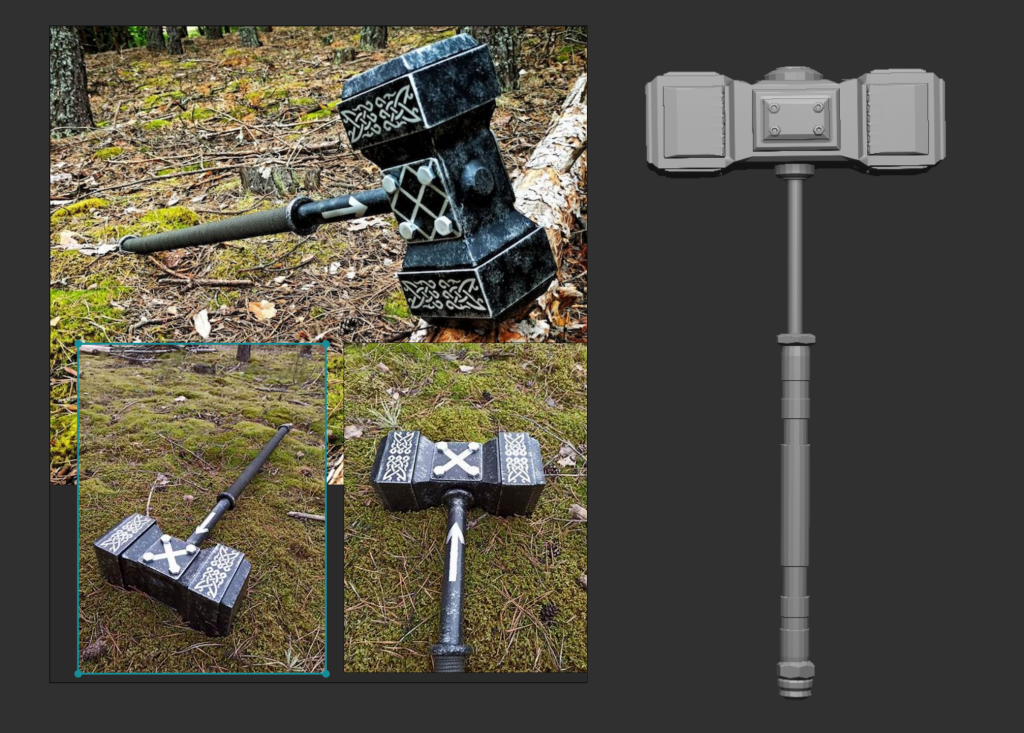
Sledge Hammer Imagery: Etsy.com, Website: Sledgehammer Viking hammer X Gungnir Crossfit | Etsy ( Accessed, Nov 18.2021 )
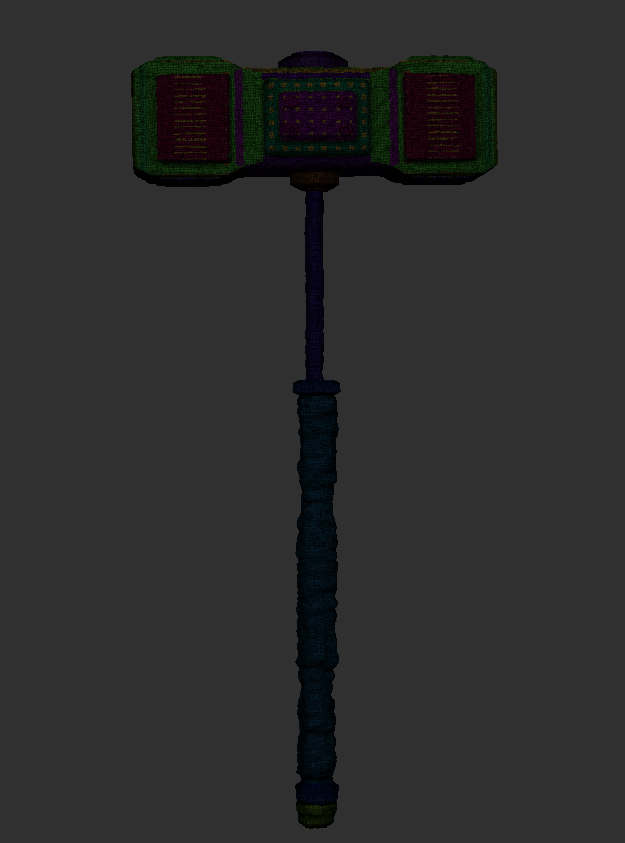
To create this hammer, I started off by producing a cube poly by itself as a sub-tool. Then I used the ZModeller functions to alter and bevel areas of the cube, extruding and extending to forms close to the sledgehammer visuals provided.
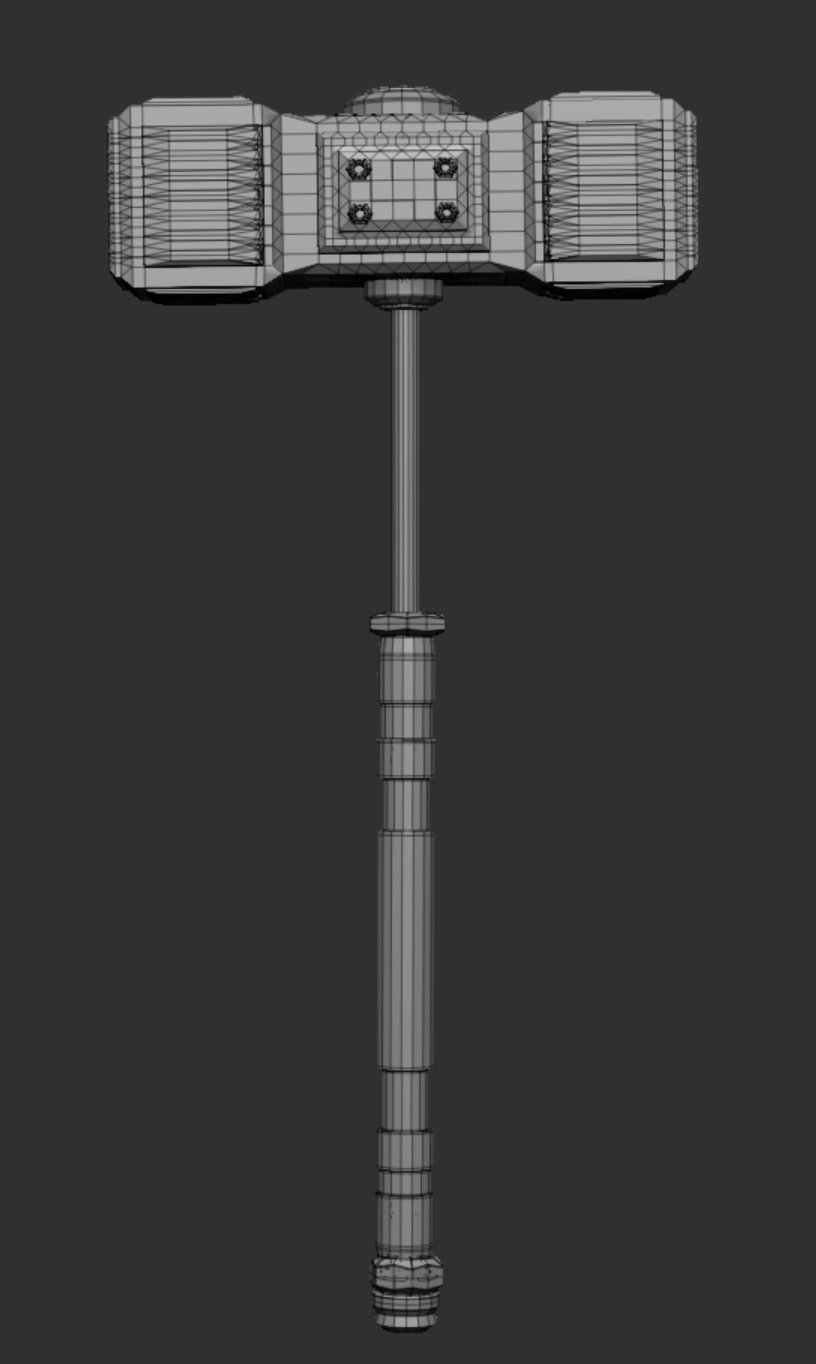
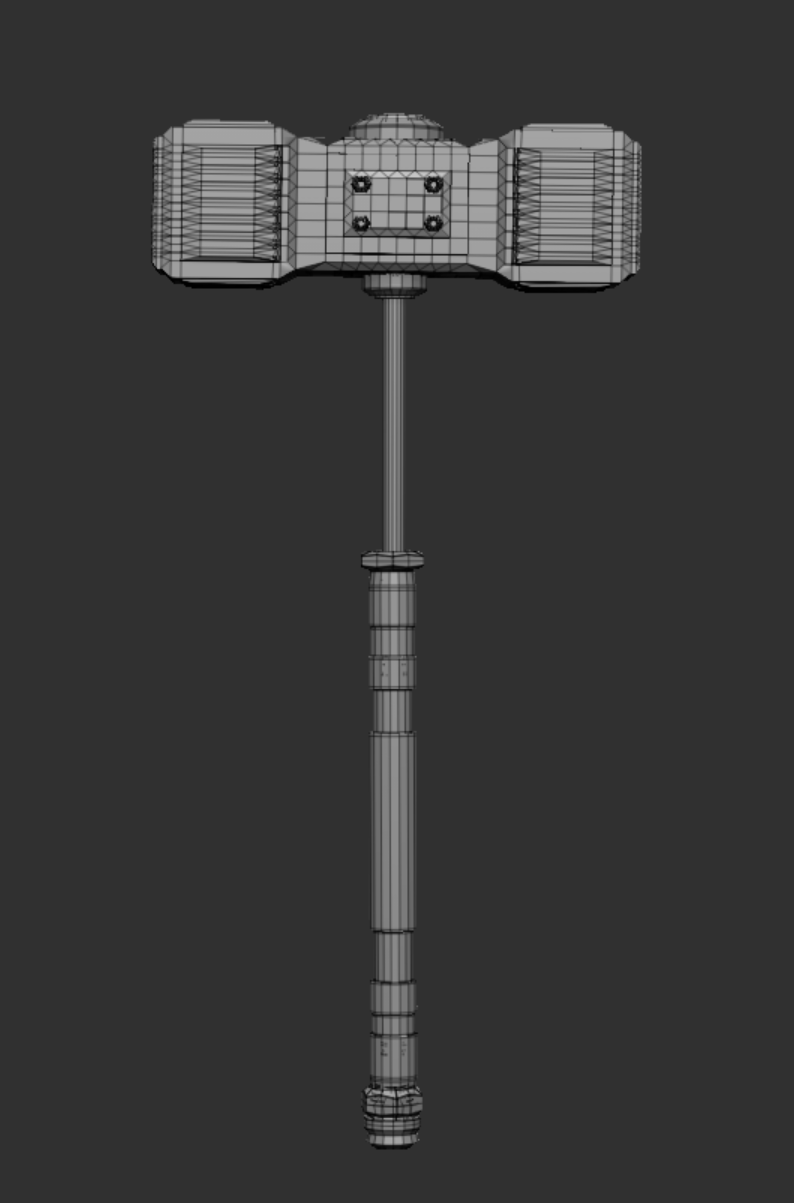
Once I had the top of the hammers shape built, I used a couple of IMM Brushes to make the accessories surrounding the hammer including the stand and handle.
Sledge Hammer Development Process :
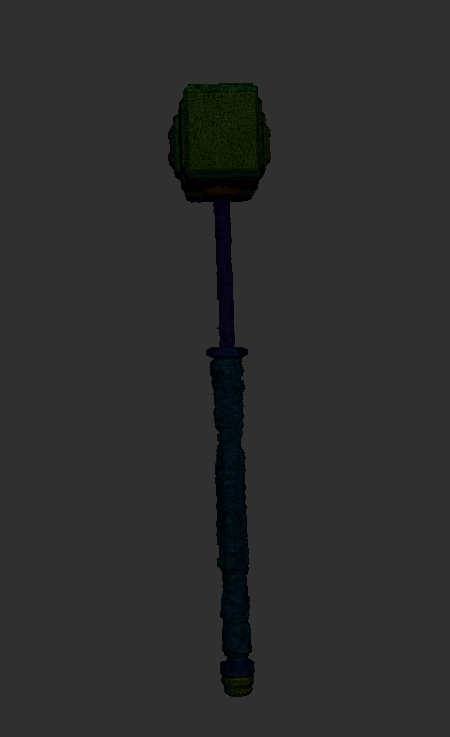
DynaMesh Result:
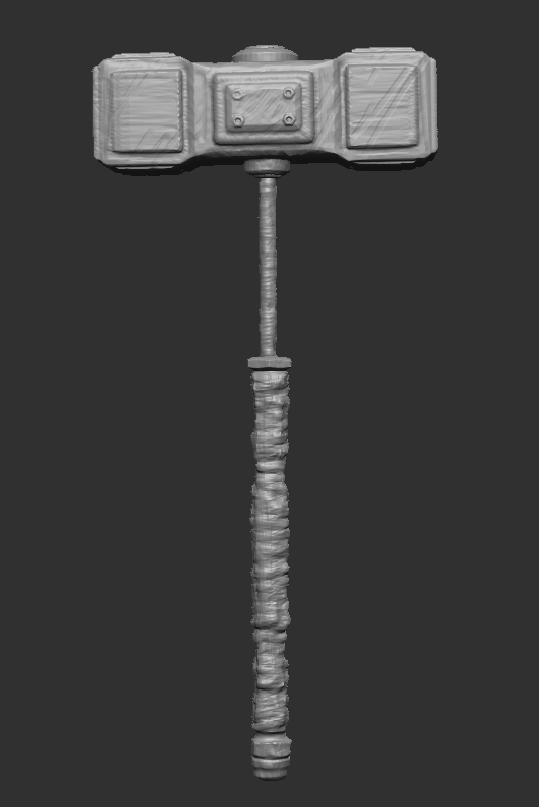
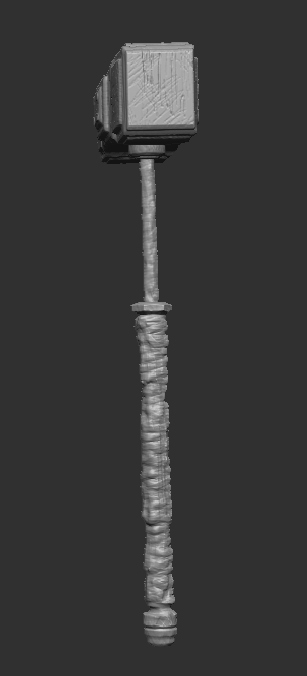
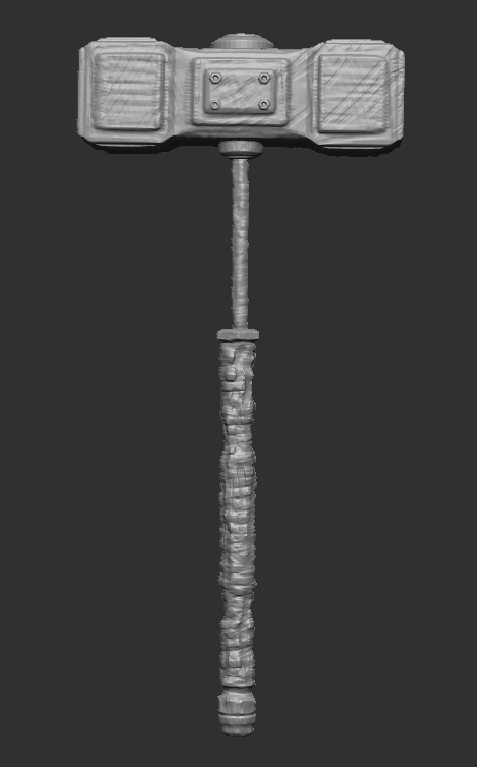
I am happy with how the detailing has turned out, there are not too many small details on the hammer which could overpower the model’s edges. However, if I were to change a certain area it would be the cloth around the stand, this is because I was more confident using the clay build up tool instead of working with an IMM.
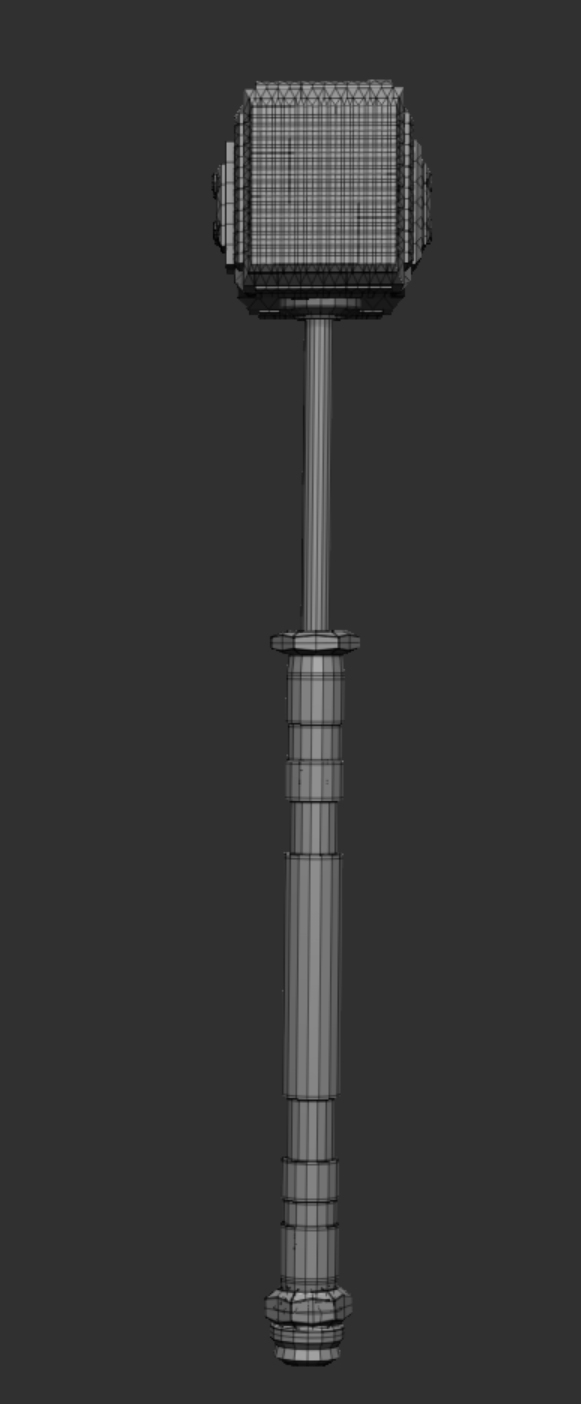
Wireframe:
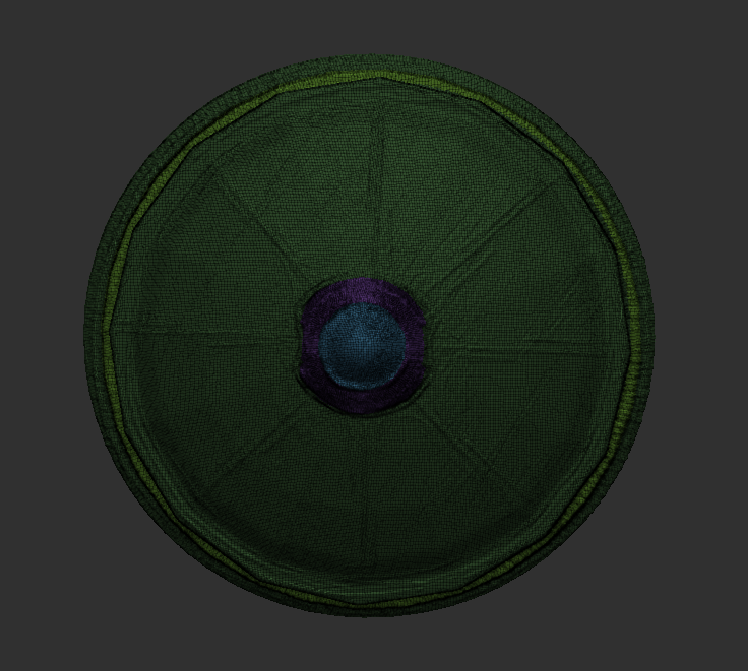
Shield:
Moving onto the next asset, a Shield for the character. I tackled this design fairly similar to the last by generating a mini mind map of sketches around the character to see which would best fit. 2 different types of biking shields come to mind when sketching, one being wooden and worn, with the other having metallic elements and colour.
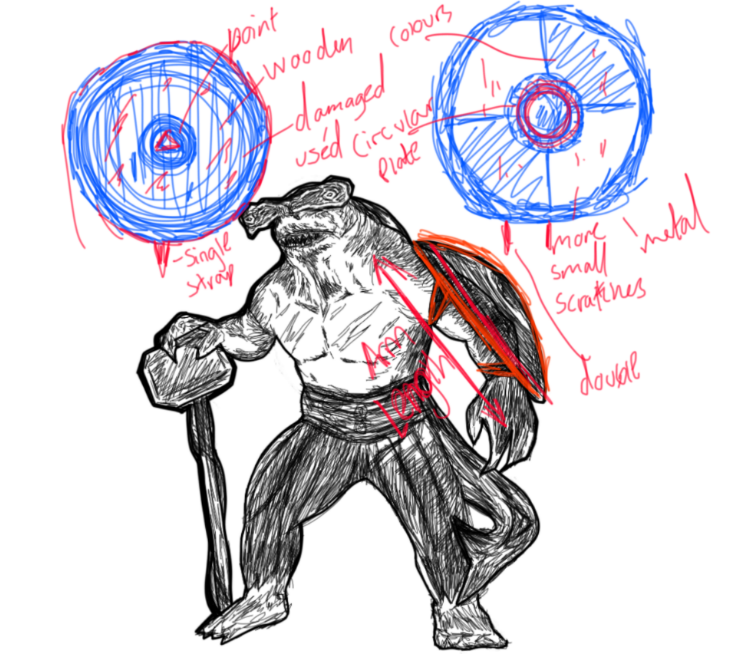
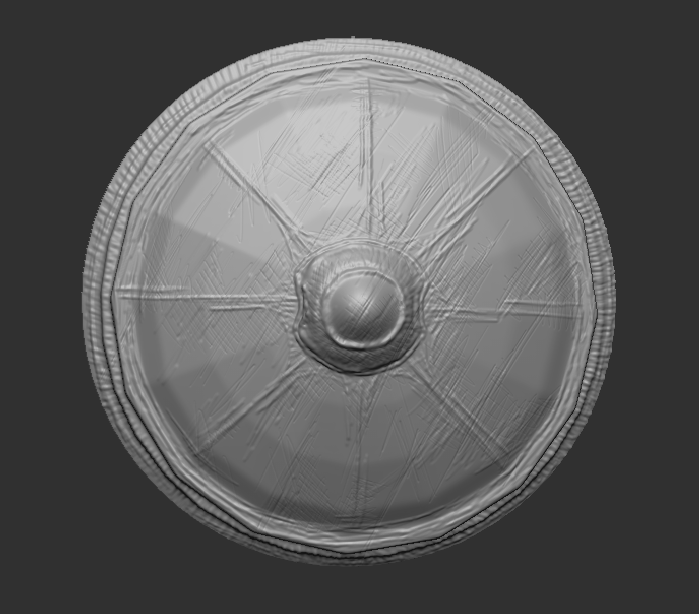
In the end, I decided to merge both ideas slightly and lean towards creating a wooden shield than a full metal-based, this was because I wanted to be able to show the damage taken more in the asset, with wood broken elements are easier to be defined in my opinion. Also with using a wooden shield there’s more opportunity to add extra detail to the character itself, for example having deeper cuts in certain areas that the shield couldn’t cover.
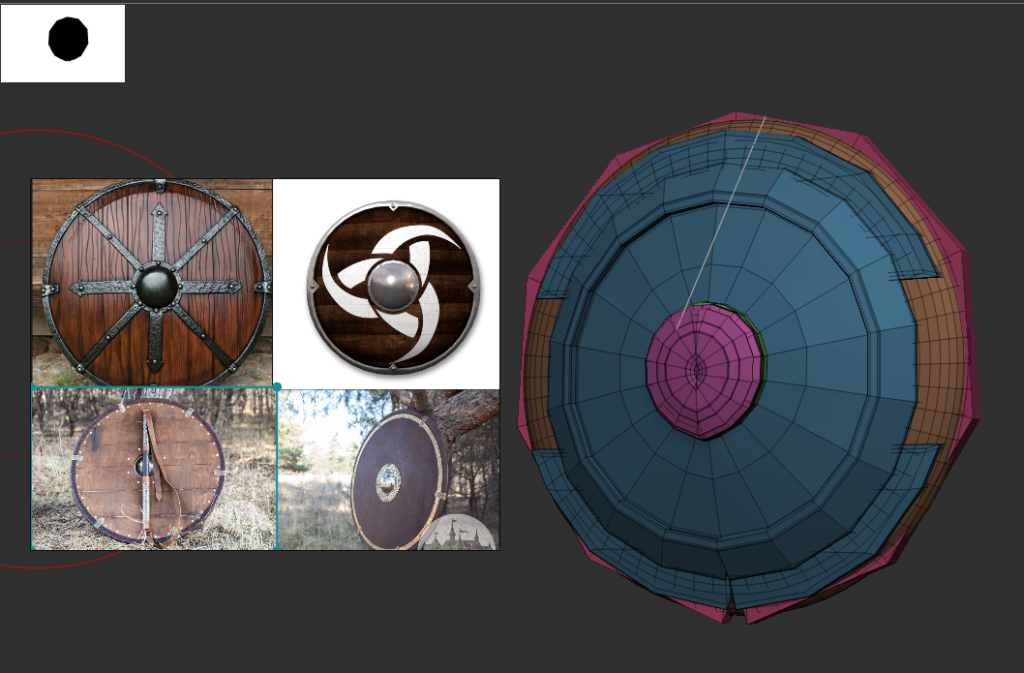
To create this shield, I started off by producing a ring poly by itself as a sub-tool. Then I used the ZModeller functions to alter the size and scale of the shape, IMM tools were also used fairly similar to how the sledgehammer was constructed as parts of decoration and to help build a stronger form.
Shield Imagery:
Harreira, Website: what is a viking shield symbols designs and meanings (harreira.com) ( Accessed, Nov 12.2021 )
Medieval Store ArmStreet, Website: Leather-covered Viking’s combat shield. Available in: brown leather, black leather, brass :: by medieval store ArmStreet ( Accessed, Nov 12.2021 )

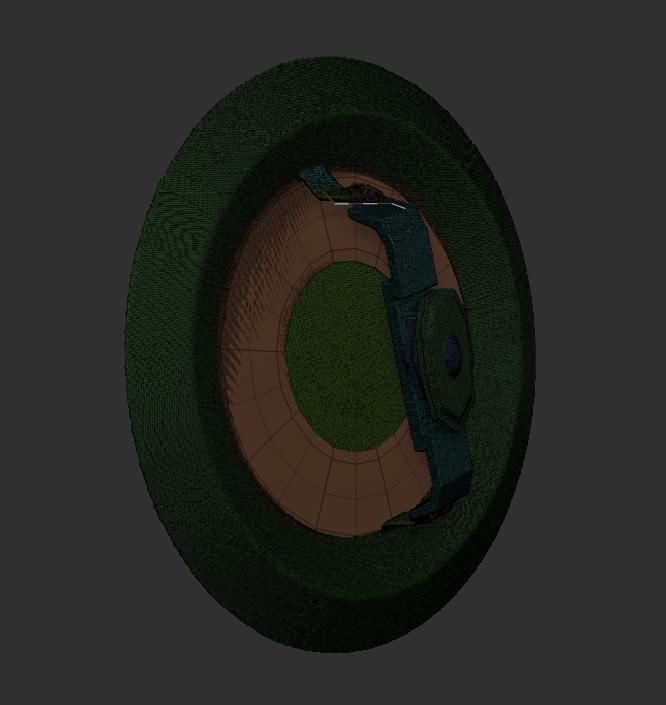
I ran into a problem however when working with symmetry on my model, everything ended up uneven at a certain point making it impossible to produce a perfect circular shape for the shield, so to solve this I had to mirror and wield the model to restore the evency.
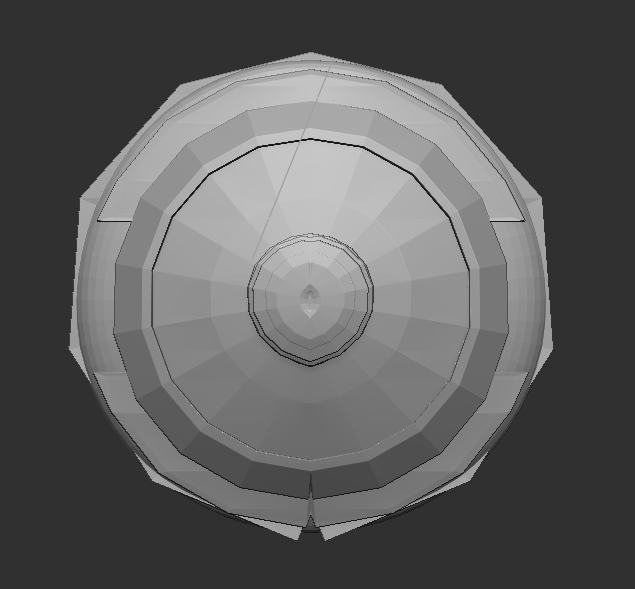
DynaMesh Result:
Finally, once I was happy with the shape, I DynaMeshed the model and began to bring the shield to life. A quick smooth brushstroke was needed to help clear most areas, complemented by the inflate tool to add an extra curve. Clay build up tool was then used to add and subtract areas of the model defining dints in the shield and producing smaller worn details.

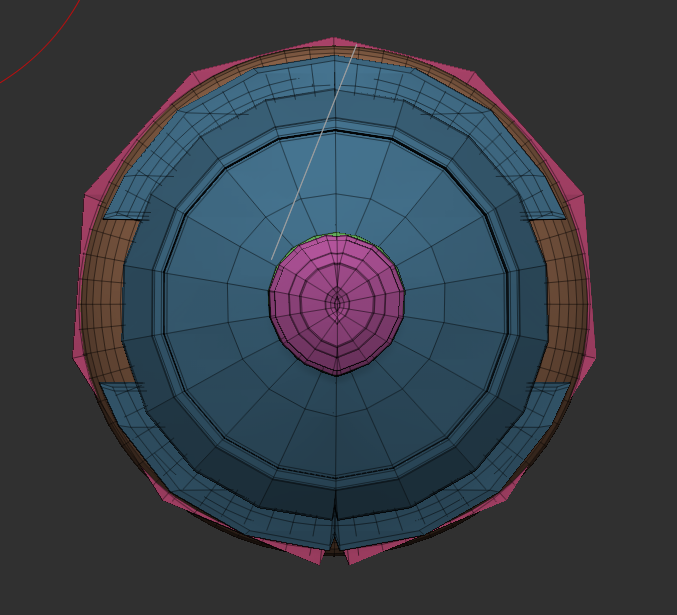
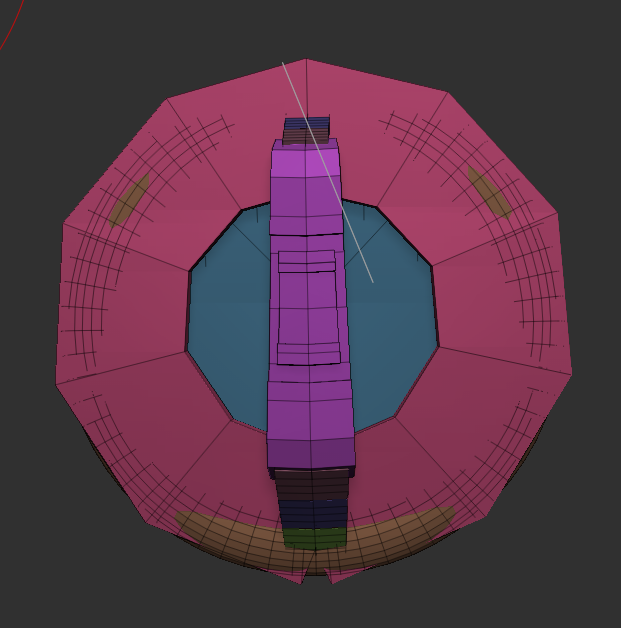
WireFrame:
In the next post, I shall focus and develop on the clothing/accessories for the character.