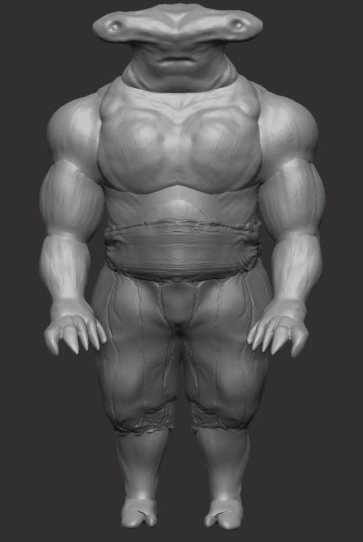
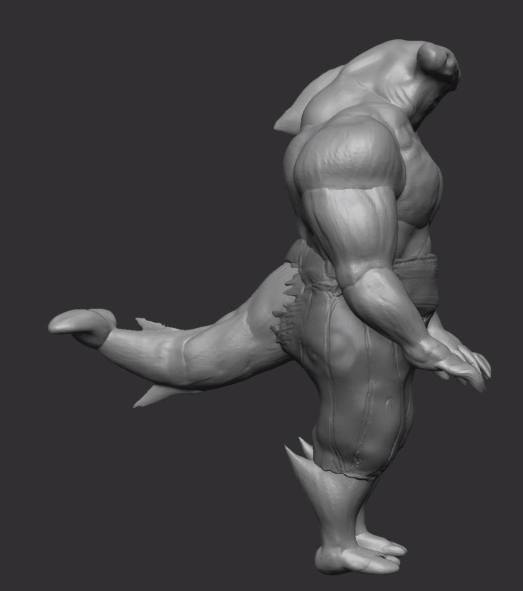
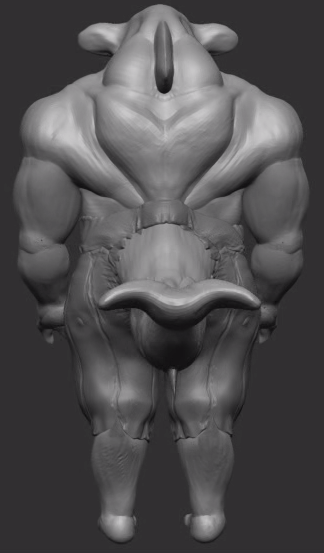
This post is dedicated to the creation of the clothing for the character model, it includes sketches and 3D visuals of the ongoing development phases also.
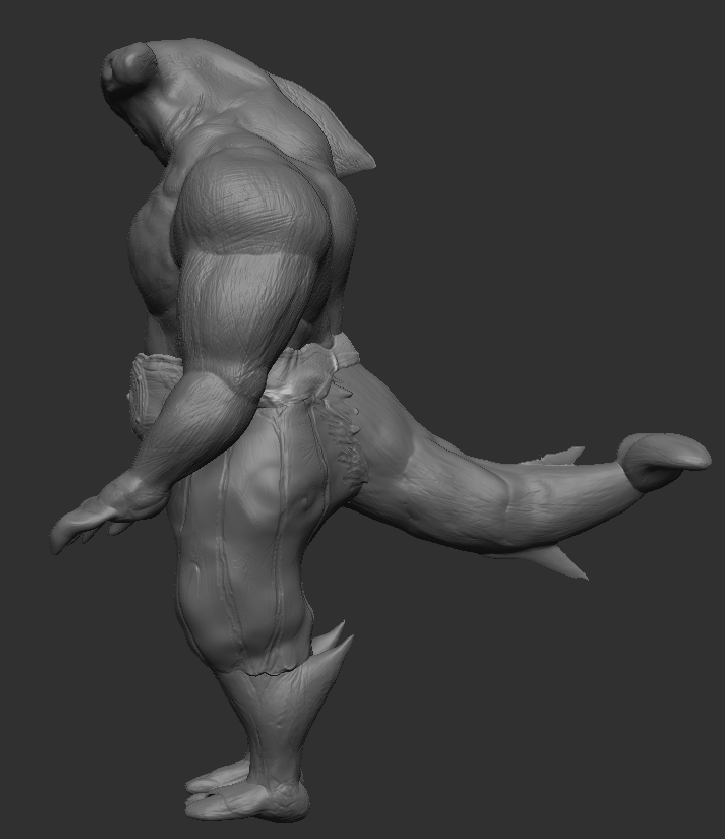
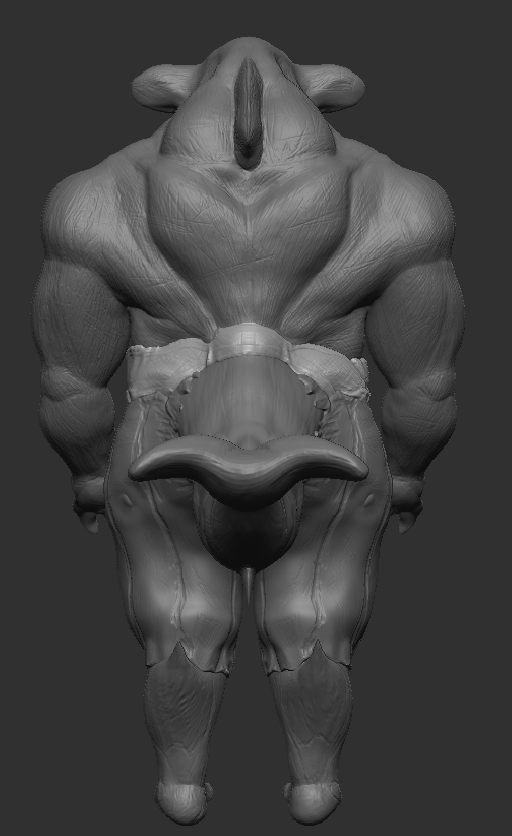
Belt –
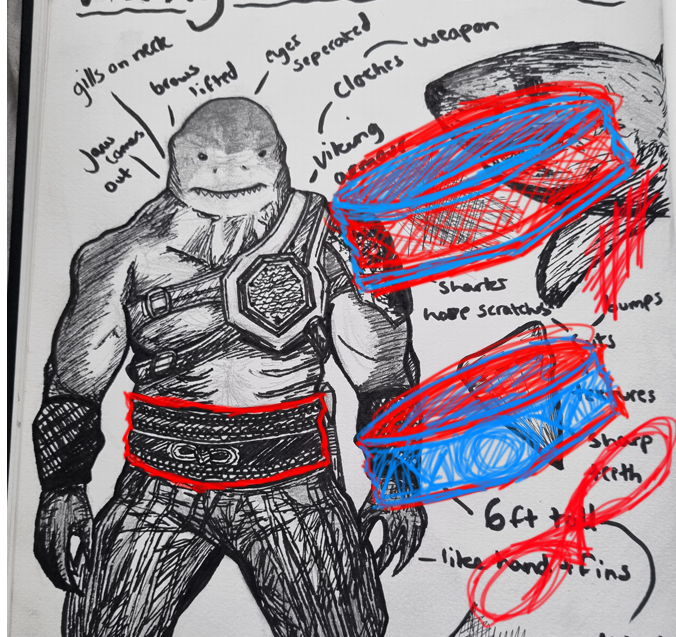
To begin I started by designing a few sketches for the belt, I found that I wanted to closely resemble it based on my great whites accessory but altered it slightly. The belt shall differ in size and detail, using from research a couple of Viking Norse symbols.
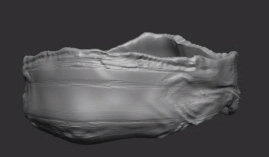
To generate an accurate base for the belt, I masked the lower stomach area of the model off in the shape suited and smoothed out certain edges, leaving a few creases.

Following on, I then used the clay build up tool to subtract and carve into the belt model, this helped define the structure and creases more.
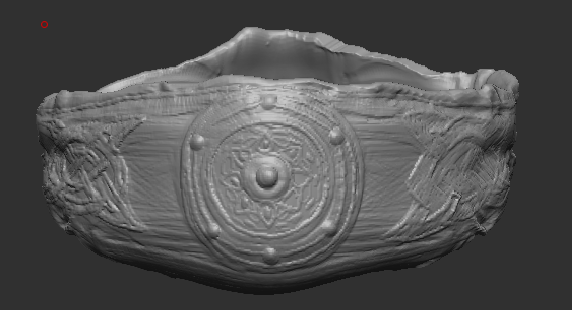
Adding the last touches to the belt, I altered between the clay build up and smooth tool. This took the most time consuming as once I had the correct built-up shape I had to subtract around the areas with a smaller size to capture every detail.
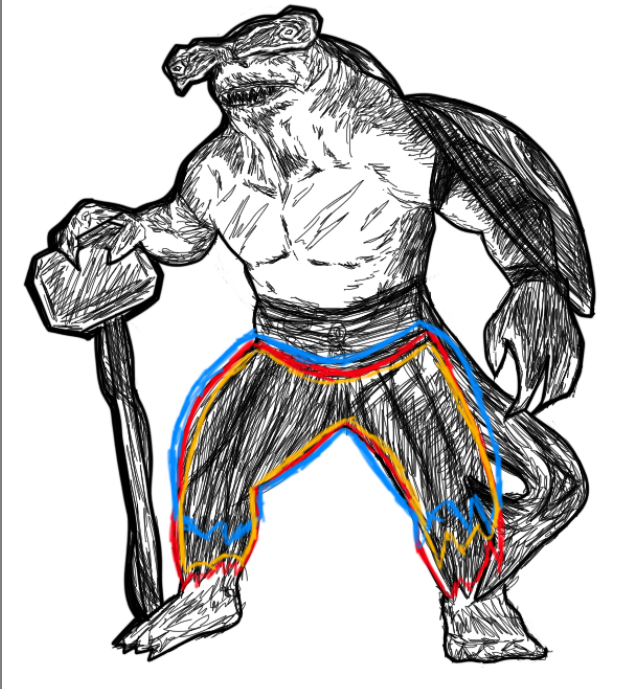
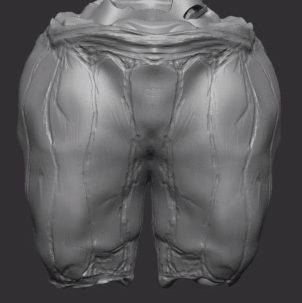
Trousers –
For the trousers, I referred back to my original drawing of the character. I sketched around the area in different colours to show different ways I could tackle or create the form, all of them were similar but differed in size.
As with the belt, I masked off the specific areas of the model to make this subtool. This came out thicker than expected, I had to increase the intensity of the smooth tool around most of the edges so it looked more fabricated.
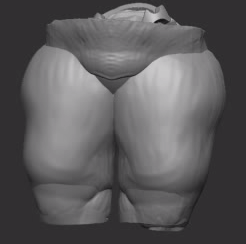
Once happy with the scale and width I coated the whole subtool again with the smooth tool, creating extra soft edges and generating a baggy form. The move tool helped accompany the bagginess of the trousers by providing dips and more inflated curves.
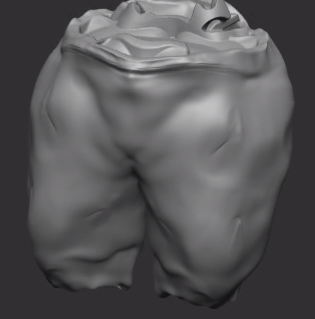
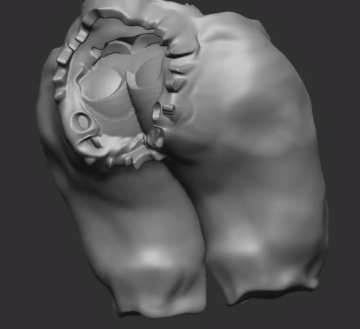
Finally, details were added and subtracted using the clay build up tool with the intensity changed in areas to build more depth.
Result:
Before detail…
After detail…

The next post will be aiming at the facial construction, adding more small details and using line work to create surface textures.