
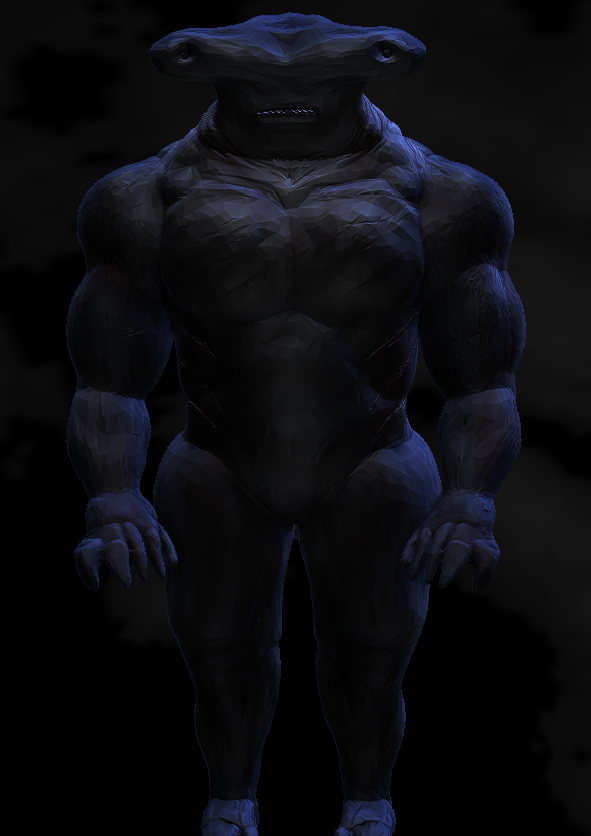
For this task, we had to create a rig using our knowledge from the previous weeks and apply them to our own character models.
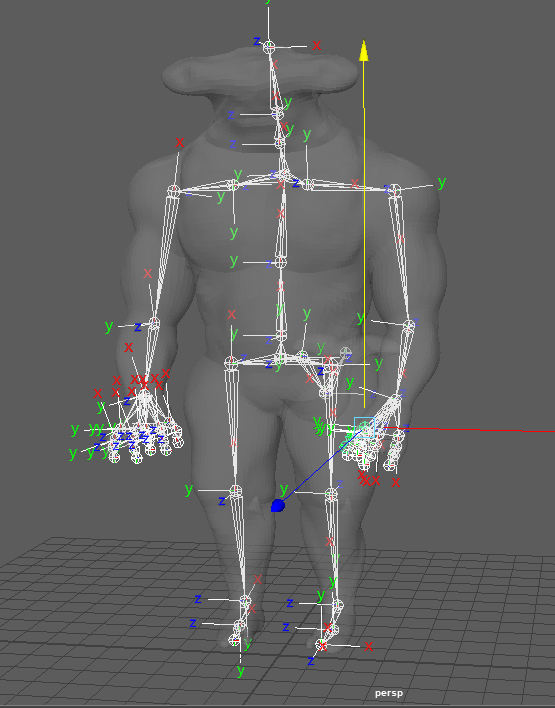
To start I imported the model into Maya and began to create a skeleton using the joints option within the rigging section. To achieve this accurately, I changed and rotated between multiple views to move and reposition each joint to the correct place, e.g elbow to elbow.
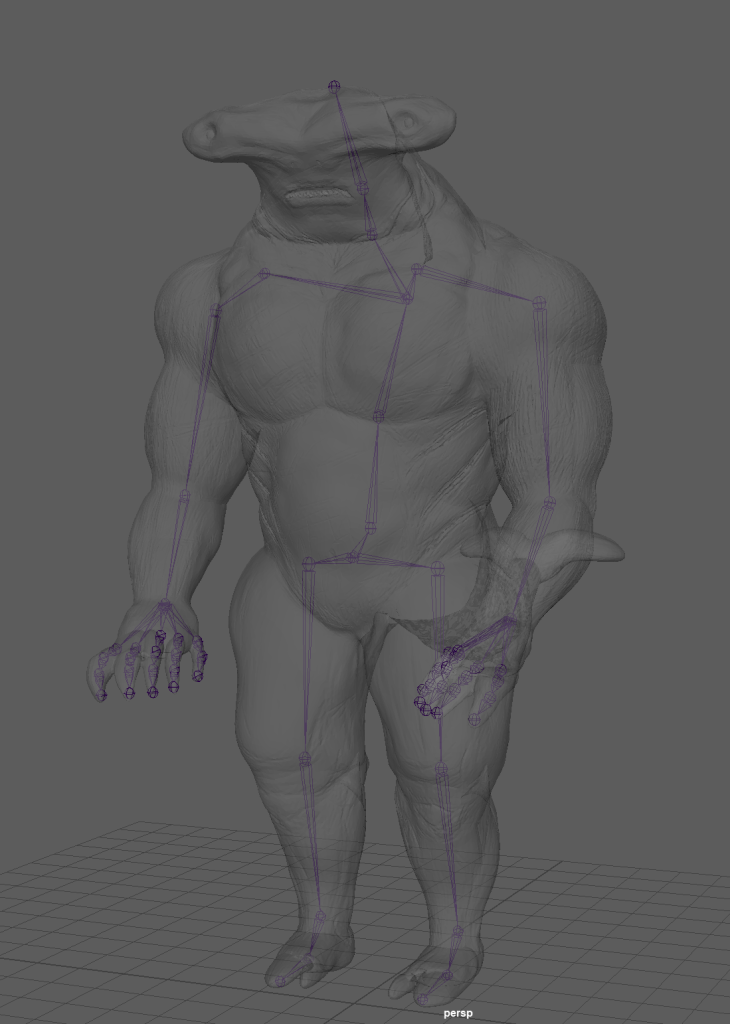
This part of the rigging process was the easiest in my opinion, with the help of Toms’s video, I was able to apply his methods to make everything work correctly.
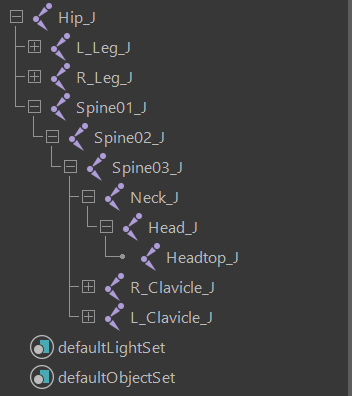
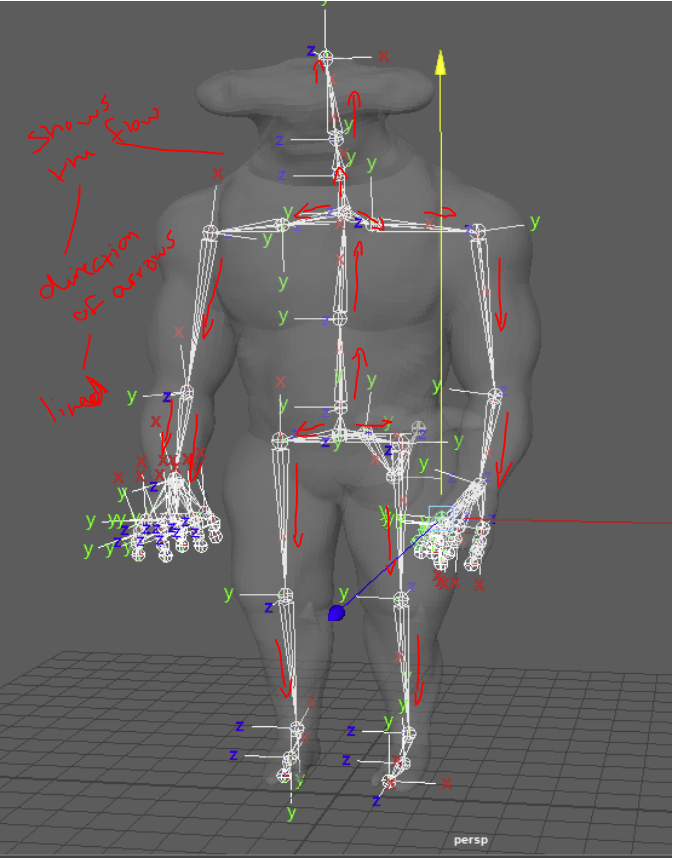
As soon as the joints were parented, I then had to rotate and orientate the joints to create a flow throughout the skeleton of the model. This flow had to have the Z-axis at the bottom of each joint with the Y towards the top, this is important that they are arranged correctly as when you go to move them later on some deformities may occur.
Adding IK Handles –
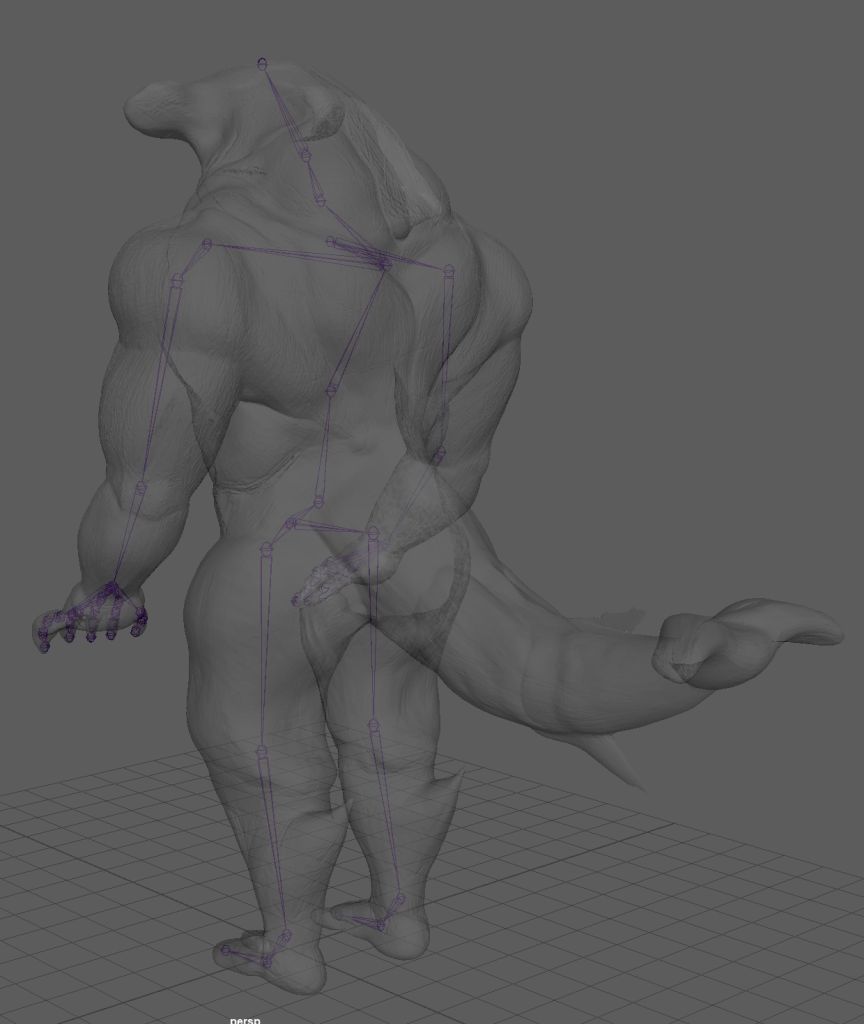
IK handles have been applied to the correct areas such as both arms and legs so the character can bend. Also added to the model at this point, a tail bone has been made.
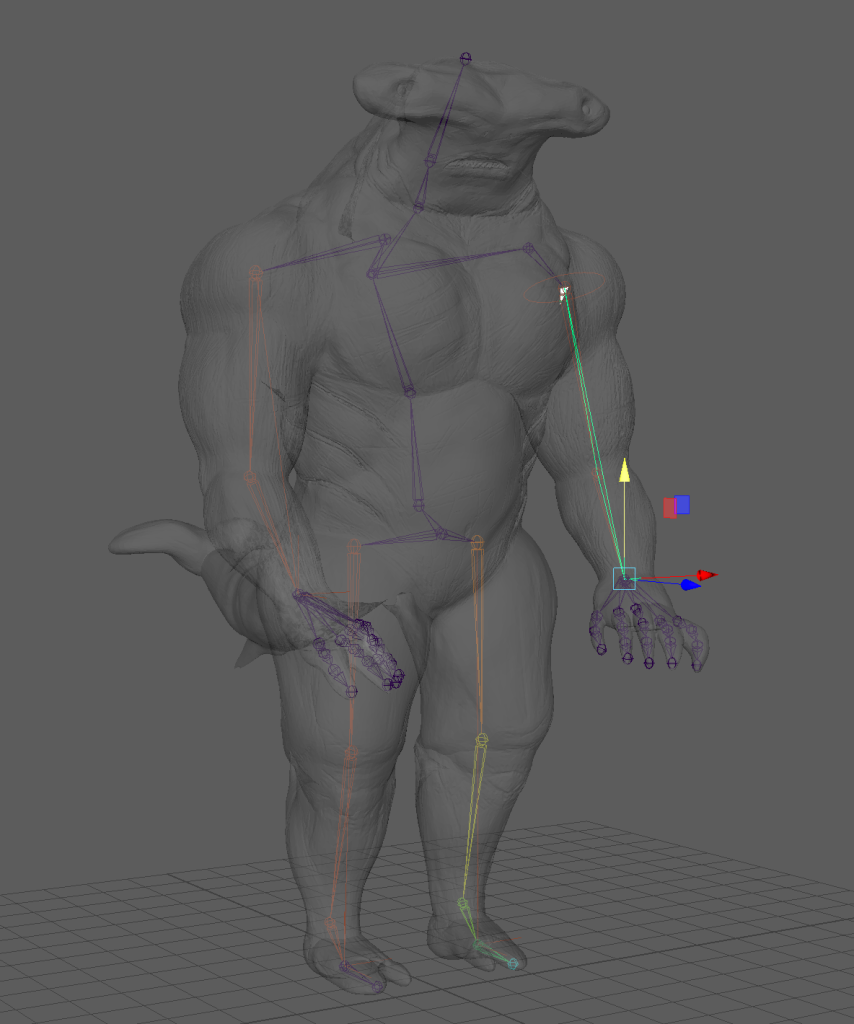
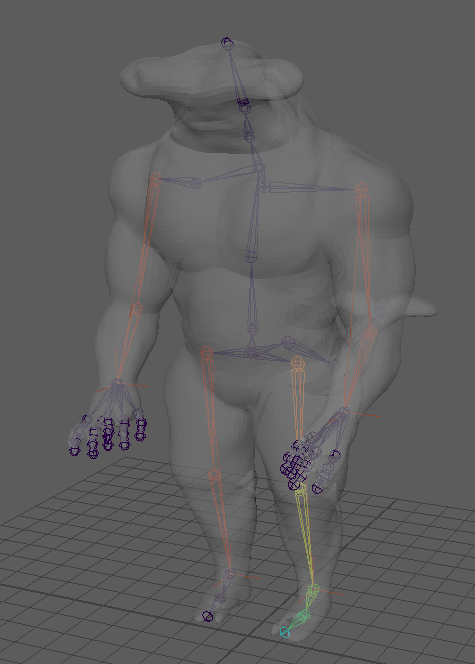
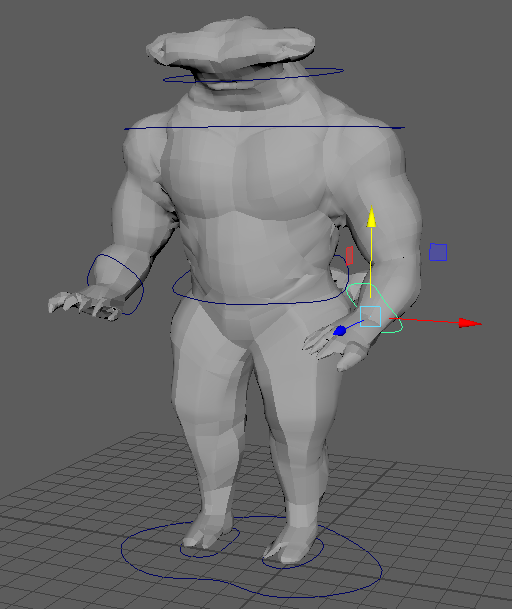
After the IKs were set up to the joints correctly, I began to create all of the controls for the model. These controls were made using wired loops, arranging their points within vertex mode, to fit around the character’s body part.

The areas that I added the controls to were both arms, legs, head, chest, and hips with an added master control at the bottom to move the whole model with ease.
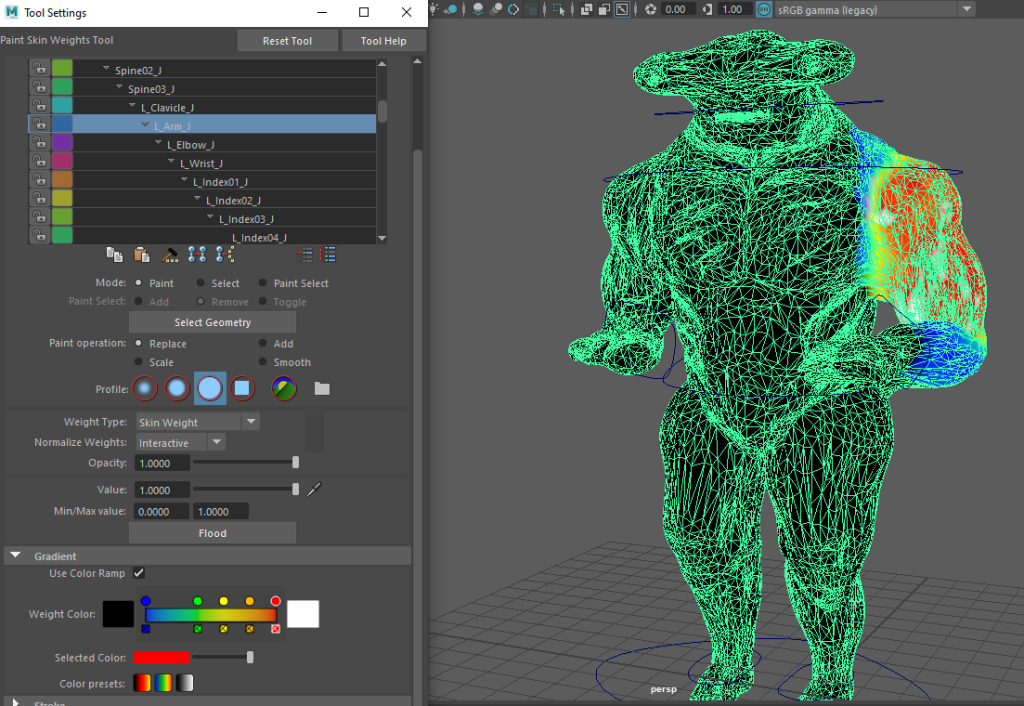
Skin Weights:
At first, when applying the skin weights I struggled to understand how the different areas were affected by the colour code, my understanding of this became stronger the more I did it. I had a lot of problems when skin weighting with this first model for some reason, my computer and the universities couldn’t handle it so I had to go through the process of remodelling and decimating the model.
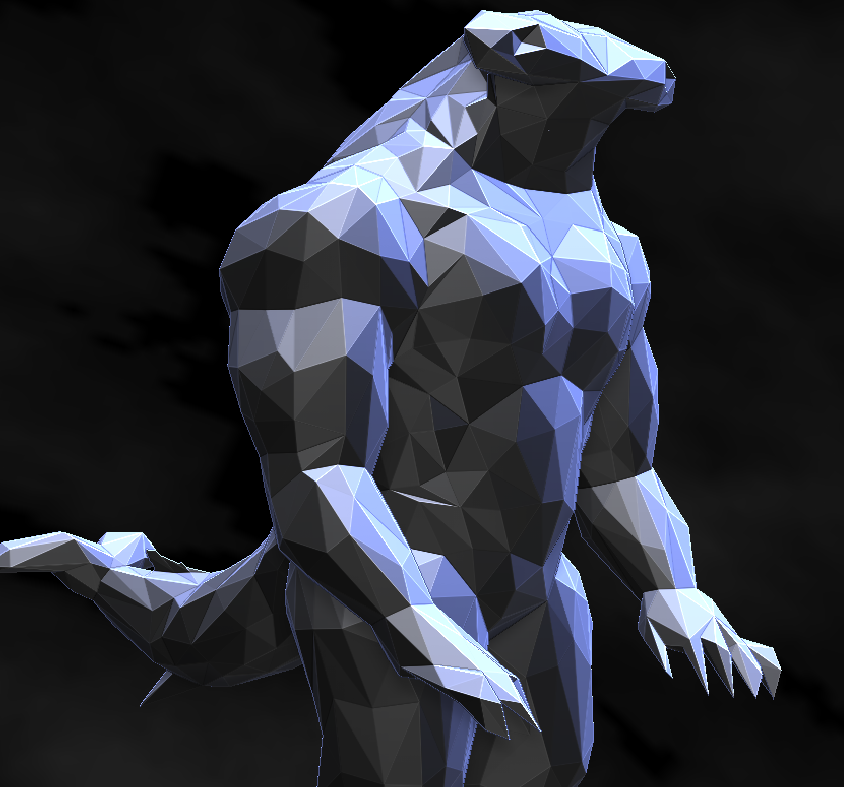
Model After Decimation –
To decimate the model I had to go into the plug-ins section within Zbrush to lower the poly count. As doing this process I realised that the more I decimated, the more detail I lost and that the polys became misshapen, within Maya however when I smoothed the model it ended up looking a lot better.
The crashing problem ended up continuing further because of the number of polys so I had to reconstruct a new build for the character model using the quad draw tool to lower the polys. Luckily I saved the previous model’s character rig so I didn’t have to start fresh again from the beginning.
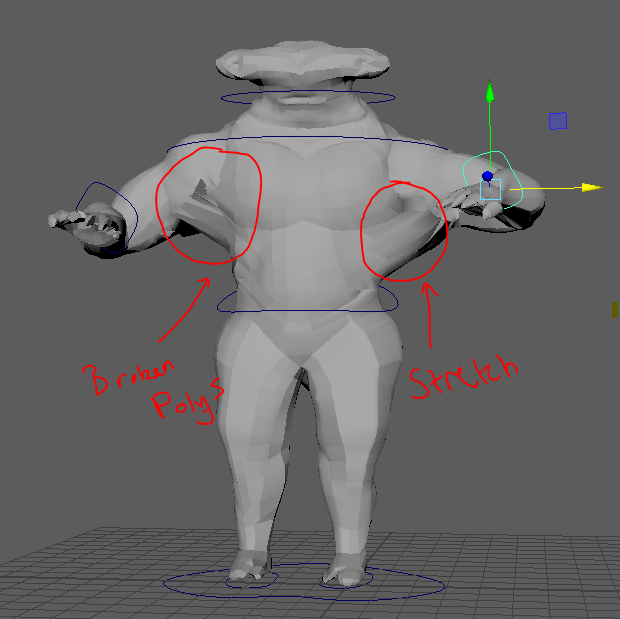
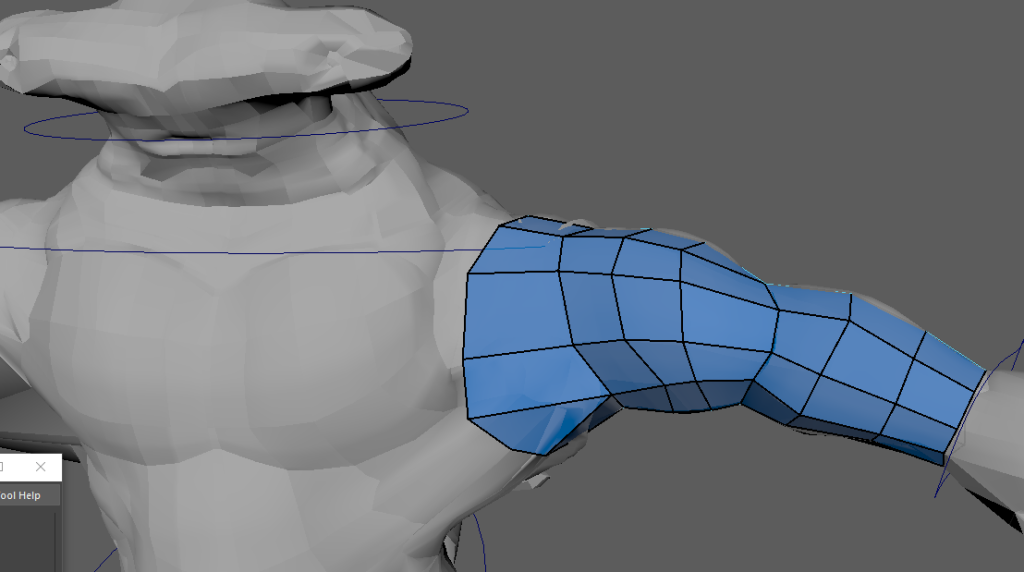
Model before the skin weights –
After applying the skin weights to the model, I found the key issue with the model, the reason why it was deforming so much was due to the topology of the character. The polys were still too complex and high for the rig to move smoothly so I had to use the quad draw tool and start fresh with a new mesh.
Using the quad draw tool was the final option that I tried, it was the only other way that I could do this project if I wanted to use my model, no matter how detailed it was. I began by building using the first model, this create a shell and a new body for the shark, the body results ended up crashing the system once again so I had to redo this about 6 times till the system and myself was happy.
New Model After Skin Weights –
Here below is a short test video of using the controls to show the skin weights that have been applied. Compared to the before video, the skin weights have improved the body movements with a lack of pulls to the main areas. What I have noticed however is a slight pull within the armpit section of the model, not much of a stretch but a deformity, I shall edit this further and try to correct the appearance as I go on.
Honestly, at this point with my model’s development, I was kinda glad it worked in the end but also disappointed with the level of detail that was lost due to having to fix the topology and having the system crash a couple of times. Next time if I were to do anything different, I would have definitely worked on planning the structure more wisely ahead for my model.