For the character clothing, I used the wrapping feature with Maya to attach them to the character. Using this feature also helped link the character’s movements with the clothing almost straight away, there was nearly no skin weight needed, and only the smallest sections were actually affected.
To start, I began with trousers.
The trousers and all of the other clothing like the character model had to be re-topologised, made with fewer polys with the quad draw tool or be decimated. I decided to decimate them within the end, this was so that I don’t lose as much detail within the appearance of the material and so elements fit areas.

Since the character model had been created new, I had to rescale the trousers slightly so they would bind easier. Once they were wrapped to the main body skin weighting was then the next step.
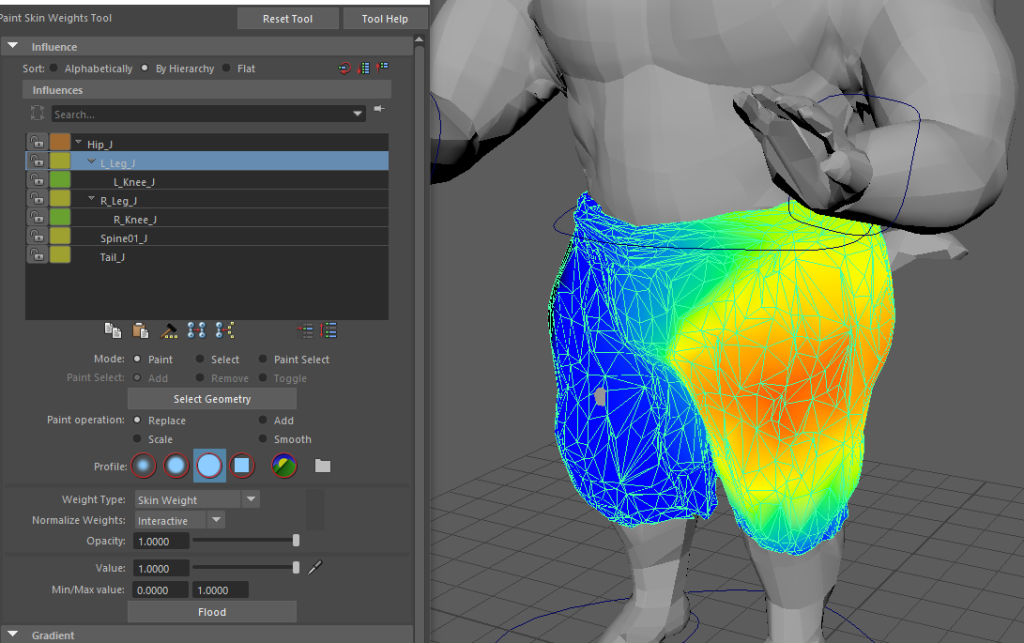
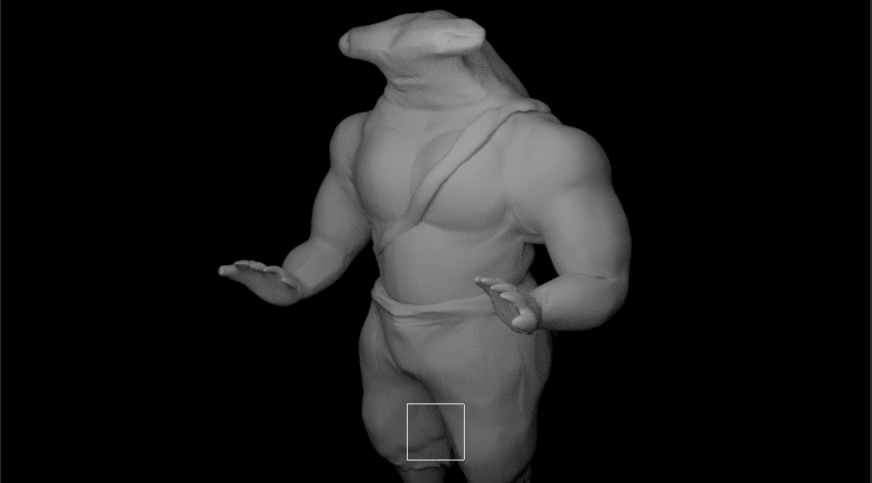
As the trousers were only wrapped around the model, there were only a few areas of the body that was affected when trying to move the controls, an example of this would be under the knees. The knees kept caving within each other and connecting everywhere before the weights were applied.
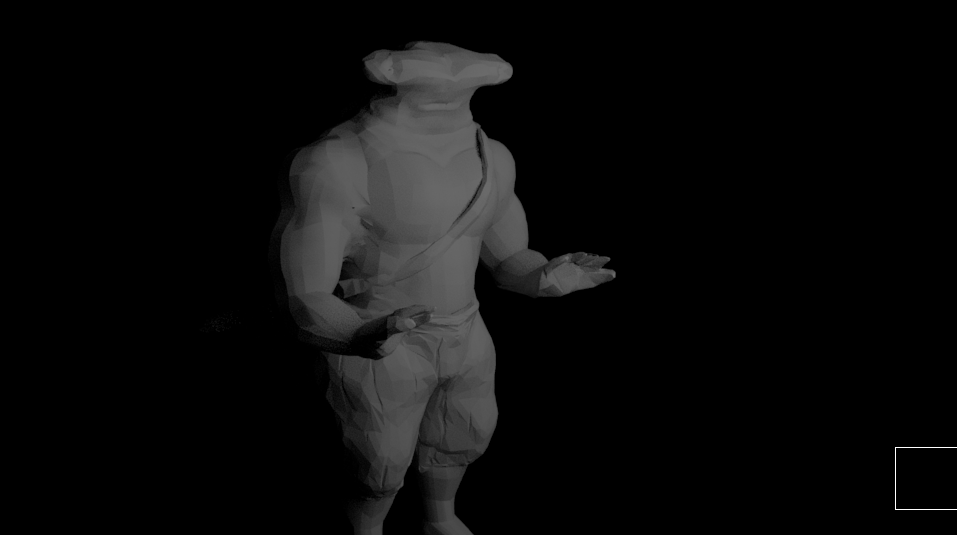
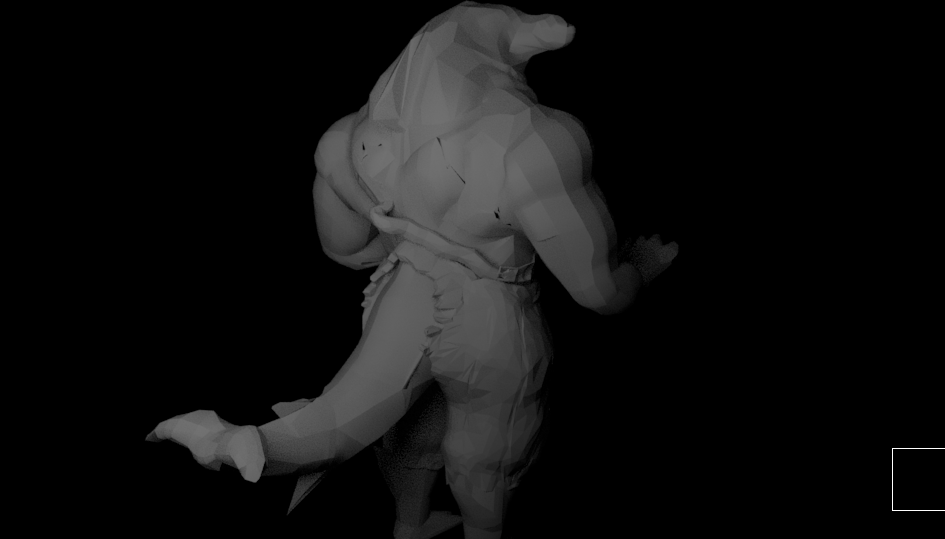
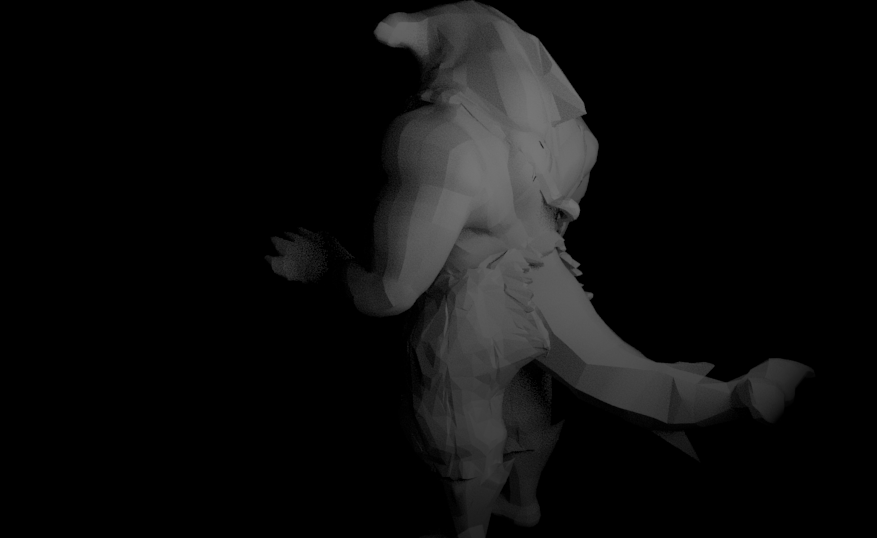
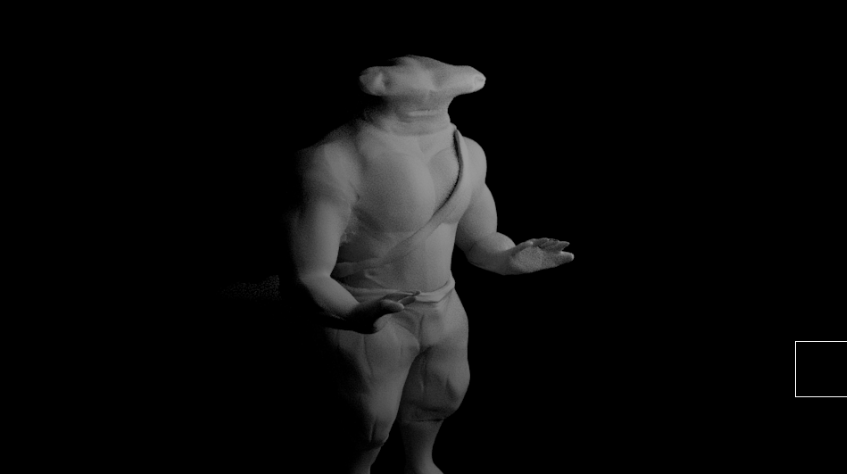
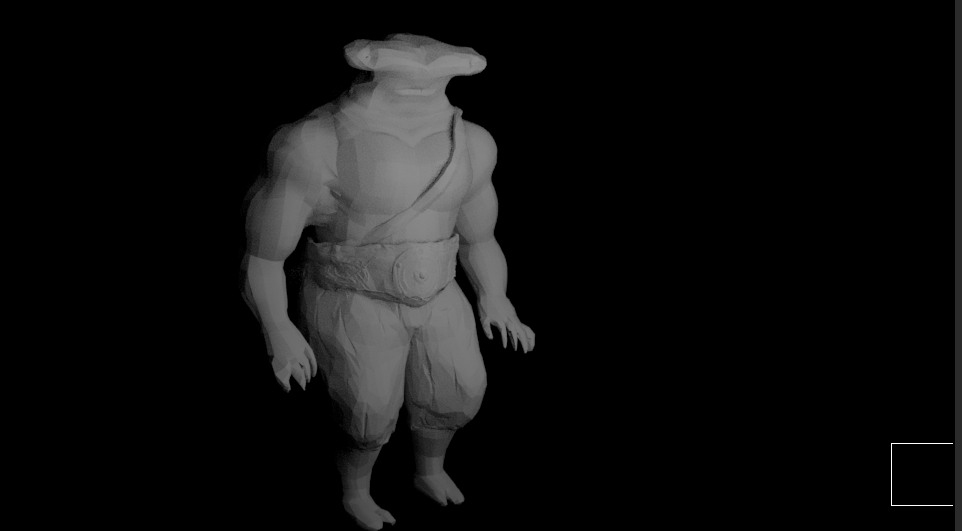
Rendered Shots 1 –
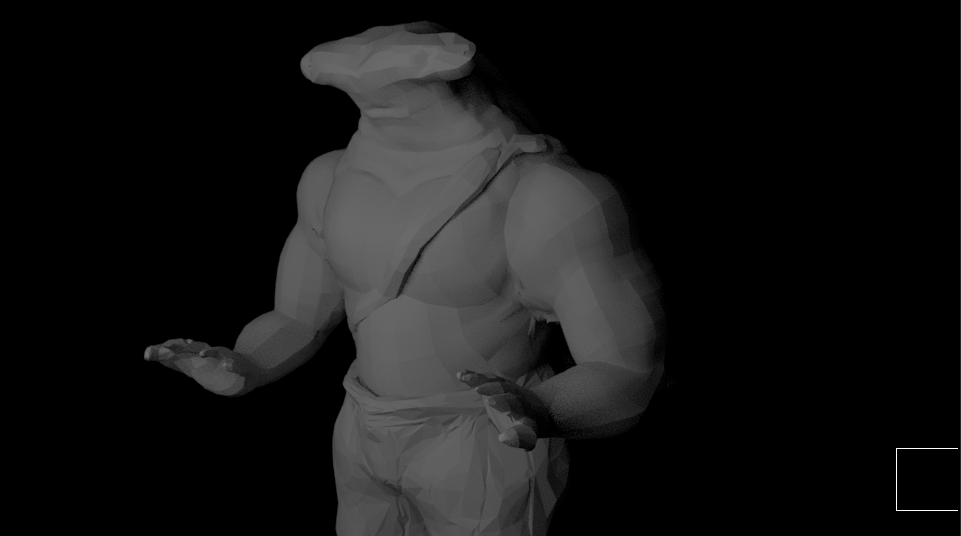
Here I thought to present a few screenshots of the model smoothed with the clothing that’s currently been applied. By doing this I was able to pinpoint areas that needed extra attention with skin weighting, it also helped me get an idea of what I could do later on for the animations ahead.

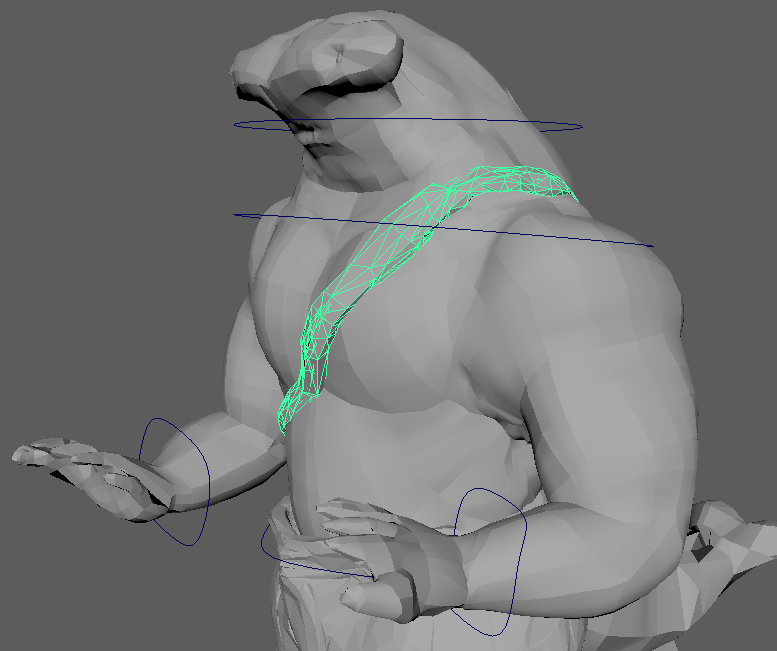
As I was moving on, I realised I was missing the belt for the model so I went and converted it to a low poly within Zbrush and wrapped it to the hip joint. At first, I experienced difficulties doing this as I had the trousers attached to the hip so I had to rearrange the parenting so that all of them were linked to the same part and worked equally.
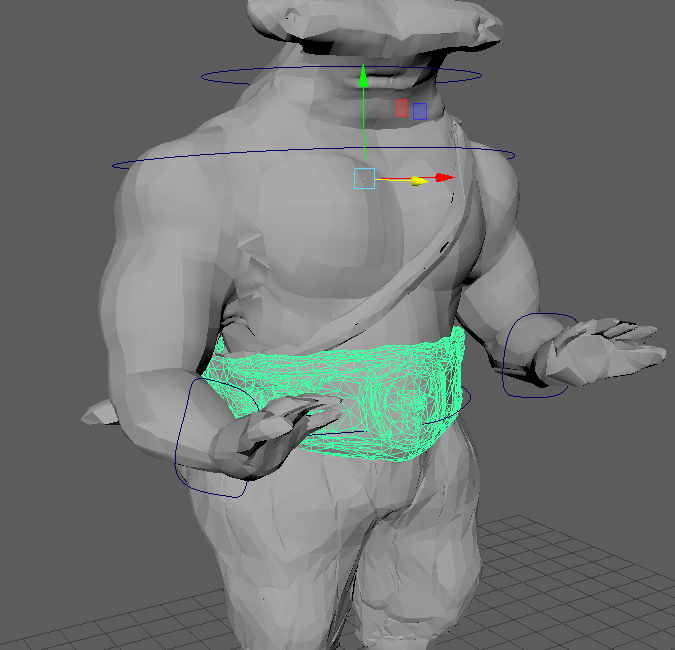
Applying the skin weights to this asset was the most time consuming out of the whole set of clothing, this was because of the way it was positioned, it was right within the centre of the model. Beginning at the centre affected more than one area of the body as it moved. I managed, in the end, to fix these issues and move on to rendering more poses.
Rendered Shots with Belt-


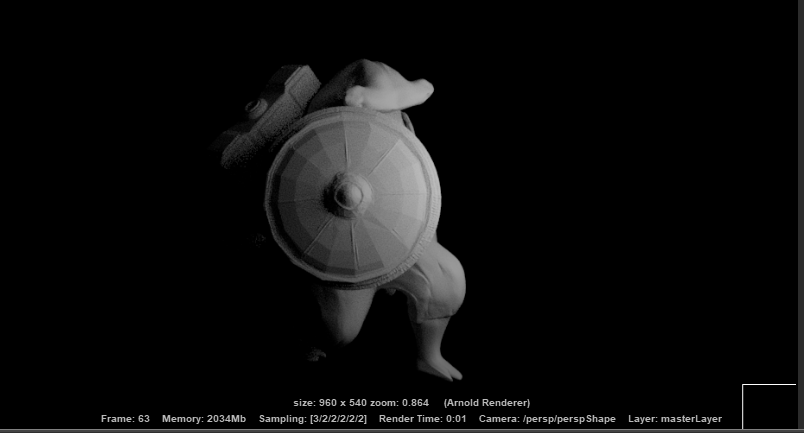
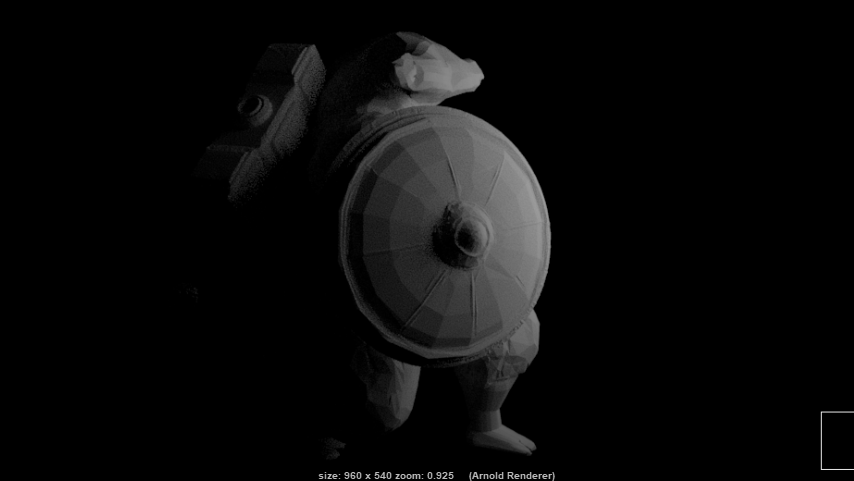
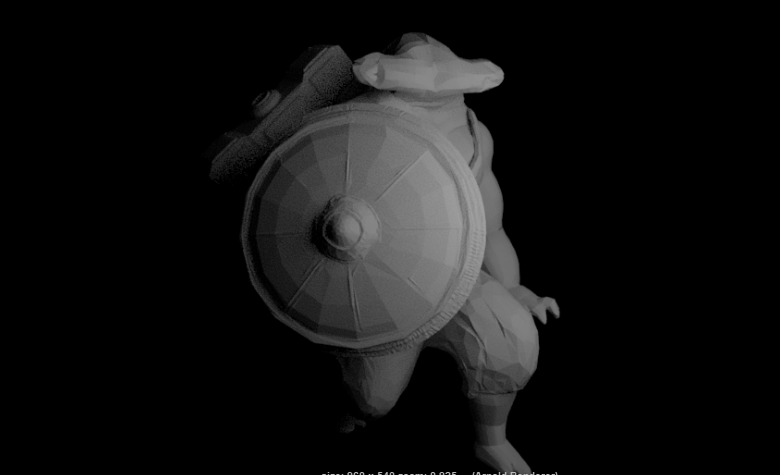
Rendered Action Shots –
To get the hang of how the characters going to move, I decided to generate a couple of poses with the weapon assets.
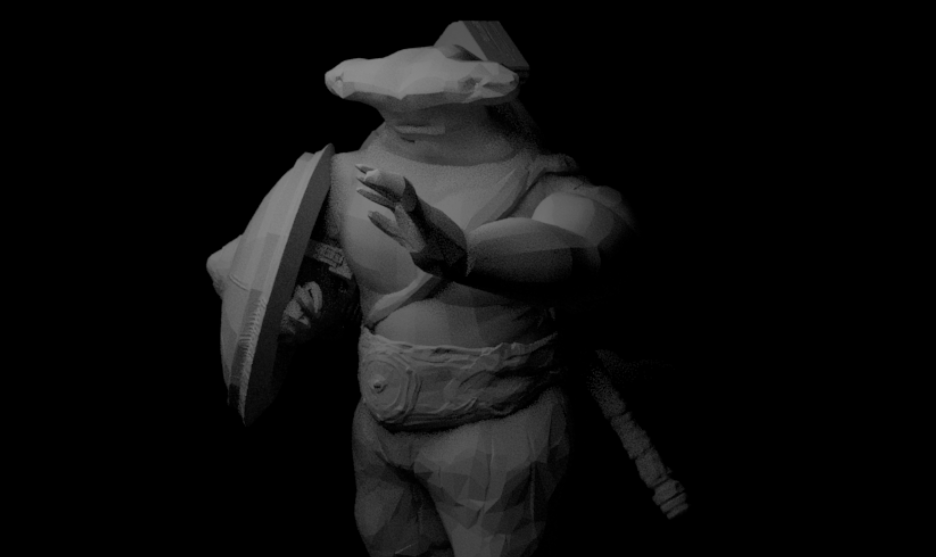
The types of scenes that I am thinking of making at the moment for the character will be sort of a showcase, this will involve sections using the hammer and shield, possibly showing them in use. I will most likely when creating my animation video references take note of these poses and try to possibly recreate them.
In the next post, I shall begin applying and creating the textures for the model with its assets.