
Asset 5:
This chemical box was probably one of the most time-consuming assets I’ve had to create for the lab project. The box is mixed up with a variety of different parts and sections, this includes going from the locks to the chemical that sits within.
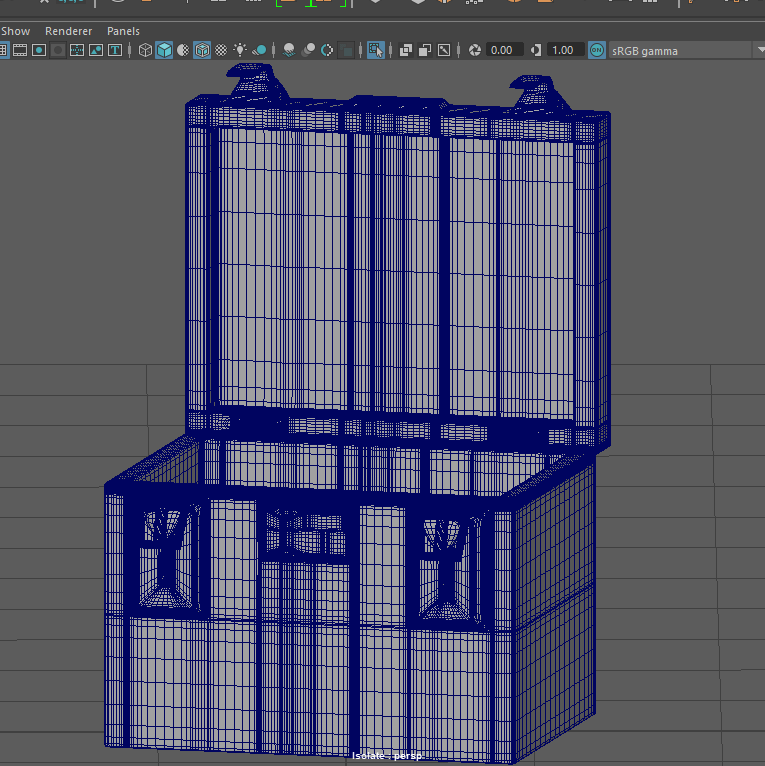
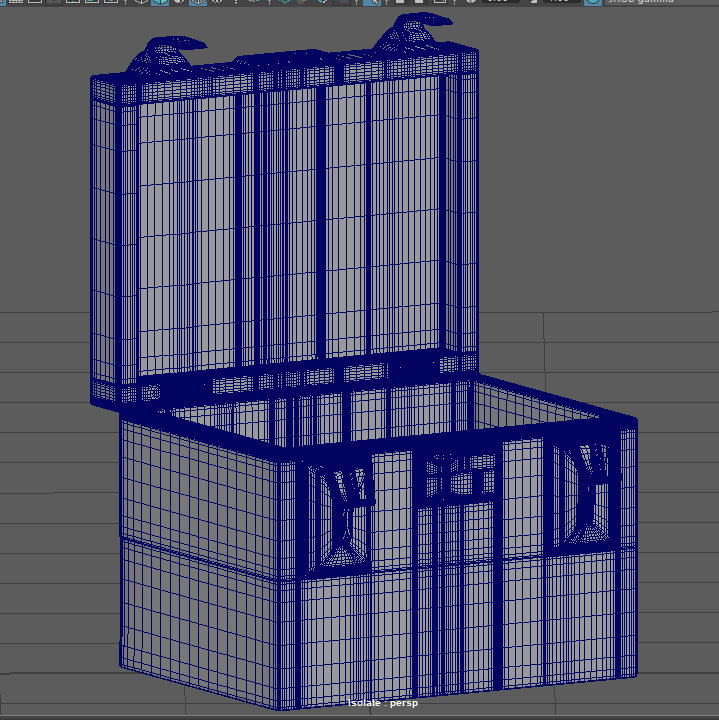
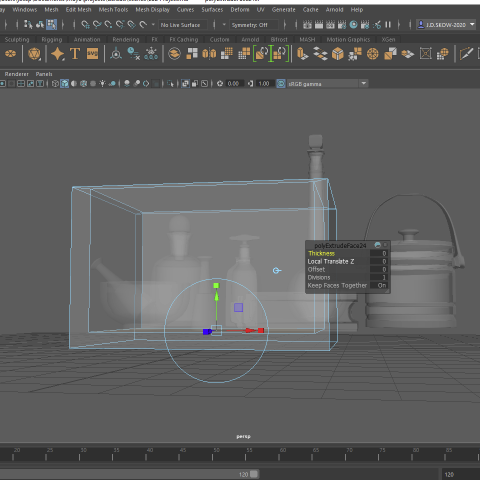
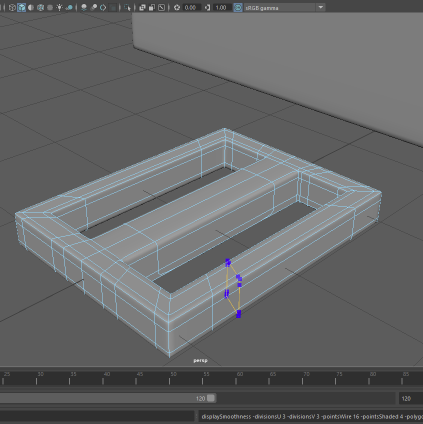
For the main body of the box, I used a cube poly and scaled it into more of a cuboid shape. After this I created an edge loop using the offset option, this then allowed me to extrude downwards making the inner of the box.
The lid of the box ended up being extruded from the top and made extended outwards, I did it this way because I found it difficult connecting the vertex points when the polys were separated. To make sure the high was accurate I went into the top perspective view and measured a poly against the base of the box.
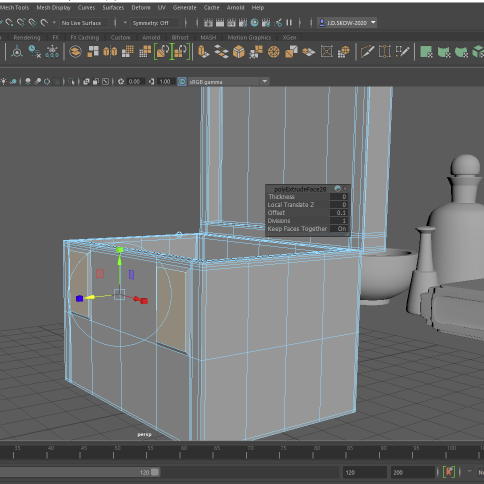
To create the base of the front locks I extruded two of the front faces of the box and changed the offset slightly. This made the base of the hooks for the buckles to go onto. For the hooks, I created a square face within the centre of the base and extruded out with the end of it having a tight offset to make the hook point.
The buckles were made by a flattened cube poly with extra added faces and edge loops. I had to remove the rectangle faces from both sides of the middle, this helped make the buckle holes. These holes then had its edges connected with the connector tool.
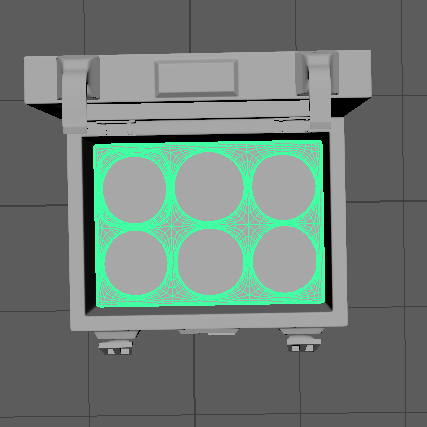
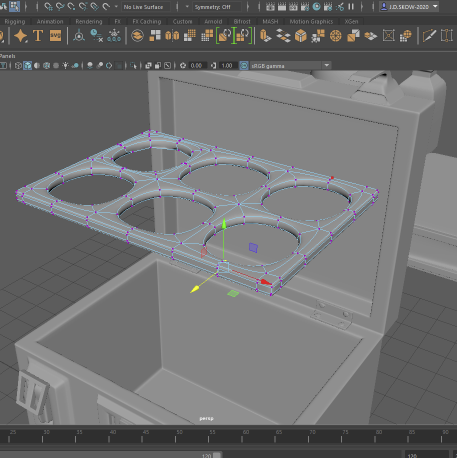
After the locks were all created I decided to make a holder that goes inside. This was fairly easy to make as I had taken inspiration from how the buckle was made, the method was the same but with fewer edge loops to create a more circular holder shape.
Asset 6:
Asset 6 is a chemical clamp, this shall hold one of the flasks that I have made for asset 1. For this, I had to construct three different objects and combined them into one asset.
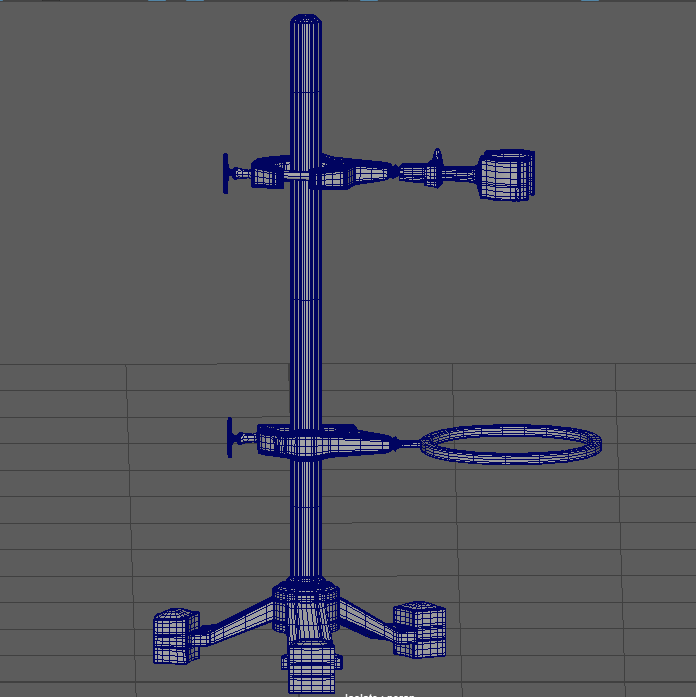
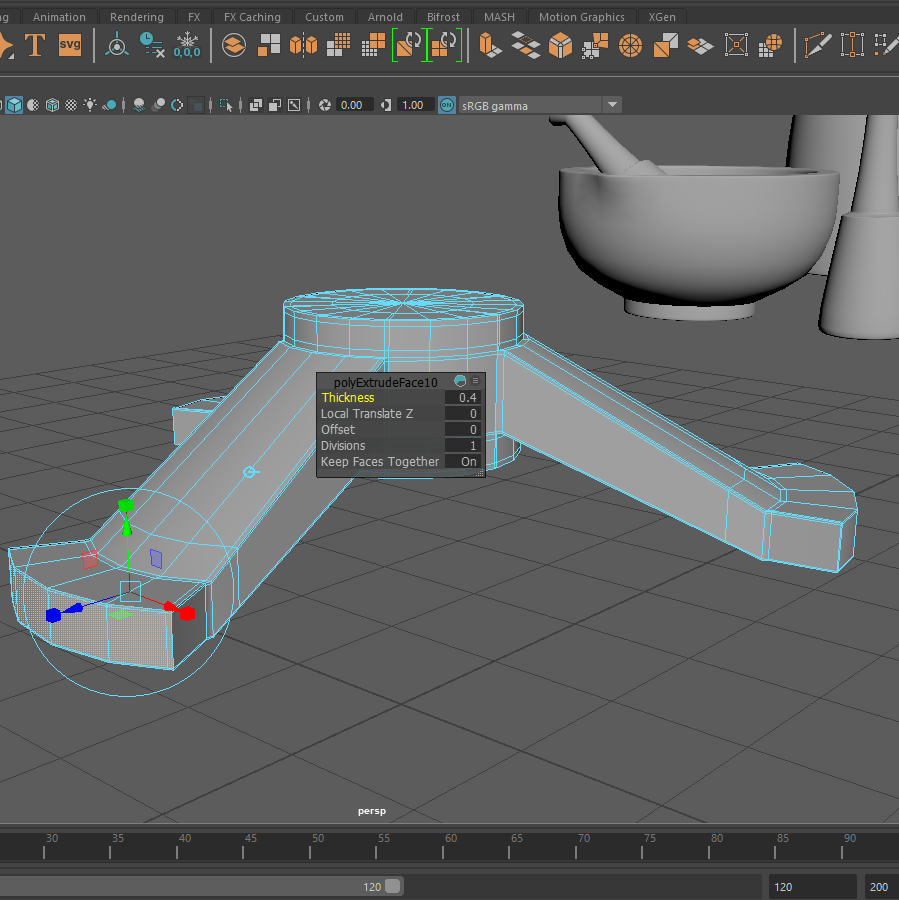
First, I started with making the main body of the clamp. This began with a cylinder poly with four added edge loops, one at the top and bottom with the other two evenly spaced out in the middle section. Then every three faces I selected three of them and extruded them out all evenly using the same measurements, this was so when the legs are flat on a surface it would stand up straight.
The actual clamps itself was fairly simple to create as soon as one was modelled, this was because I could duplicate certain shapes from the first and alter it to the correct form.
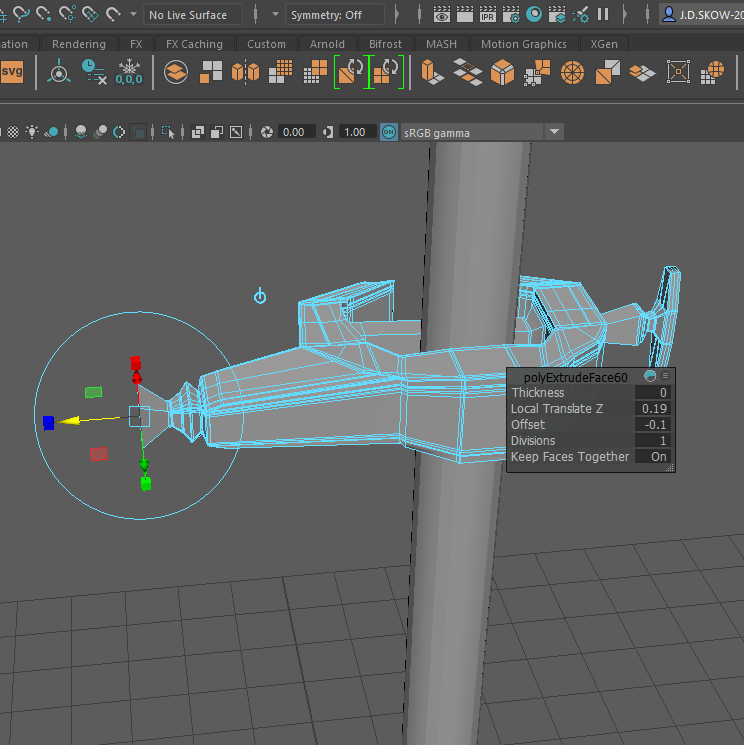
At the end of the clamps, I extruded out and changed the offset depending on with one I was making. For the base clamp, I extruded out slightly and scaled wide to create a flat square shape. This then had an added edge loop into the centre of it and had the middle cut out to have the edges within connected.
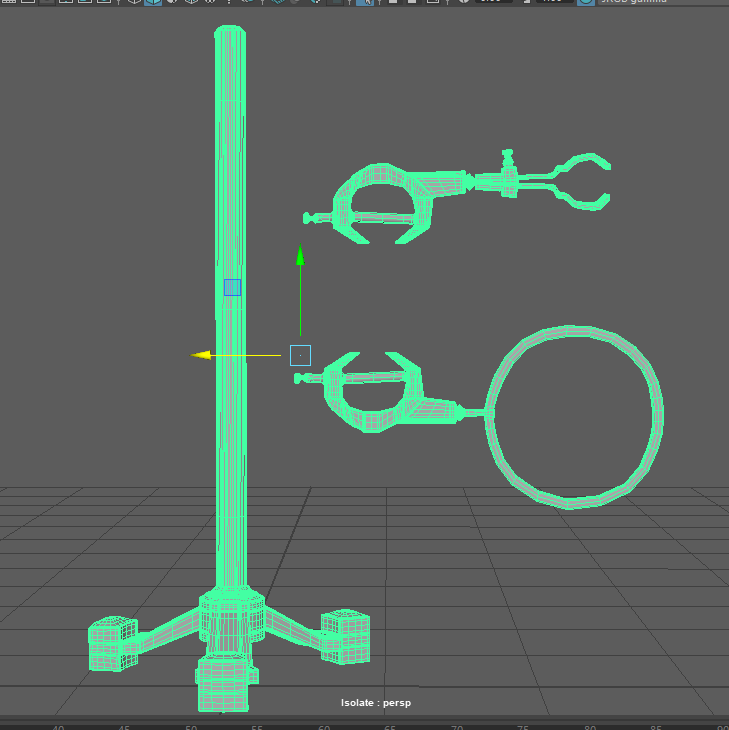
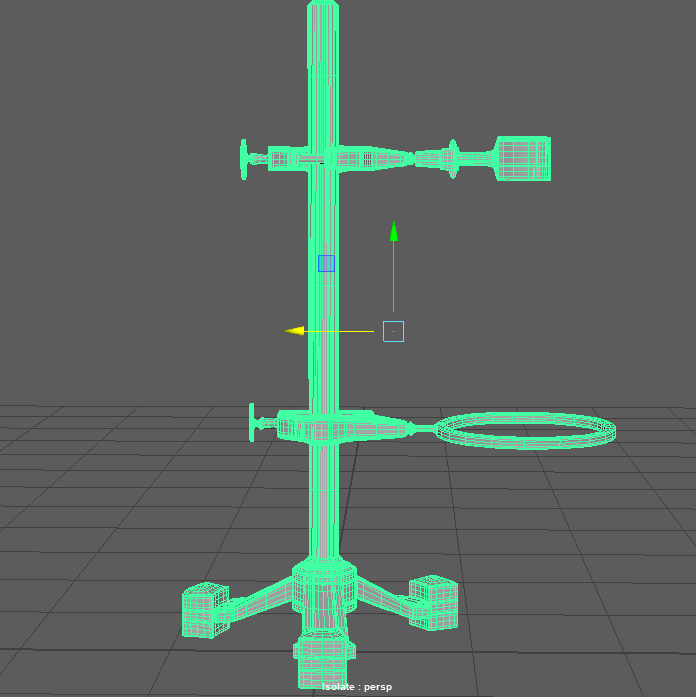
Once everything was modelled I moved the clamps into the correct space on the stand, this was measured accurately to the size of the flask that will be held between.