
Within ZBrush, there’s an option to use a tool called PolyPaint. PolyPaint is the tool that I have decided to use for applying colour and texture to the model instead of using Substance, I used this to gain more experience with the software, recognising new features. The results below show the outcomes and experimentations that I have produced for the character and its assets.
Character:
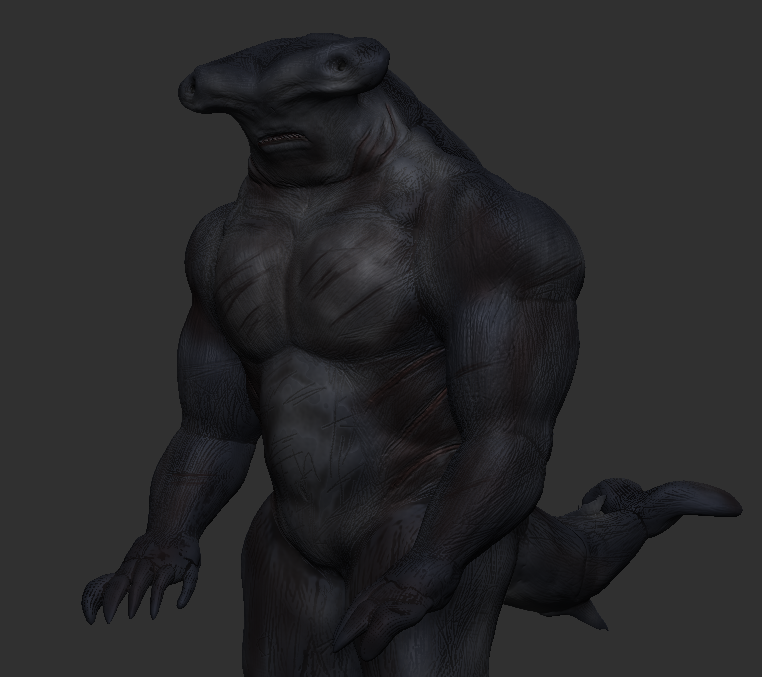
To start I filled this whole model with a layer of navy blue to generate a base coat so I could apply lighter shades more easily blending the colours together. Each layer of colour was sprayed on with a low opacity to help these blends, with the colour being altered every time it creates/builds up the depth of the character with slight highlights in areas. Cavity masking was then used to capture the markings with a dark layer of brown/red scattered along the edges.

Development:
Turn Table:
Clothing / Accessories:
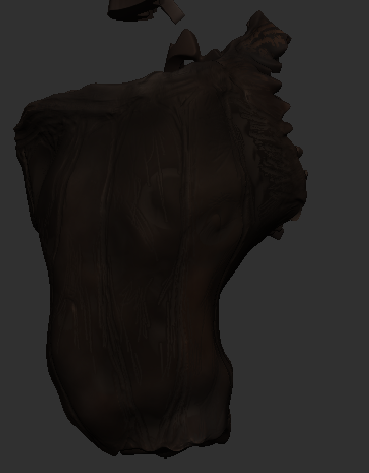
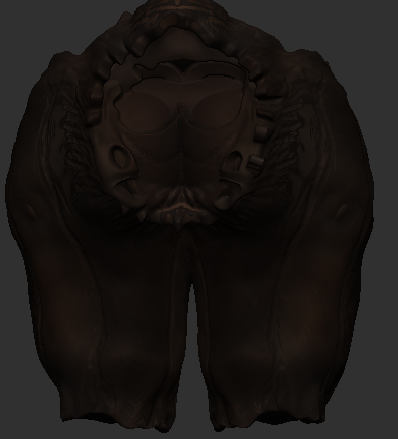
For the clothing and accessories, I used a fairly similar method to the construction of the shark’s body textures. To begin I used the appropriate colour as a base coat and worked up areas harmoniously, then finally cavity mask with a darker layer of colour to define the surface textures.
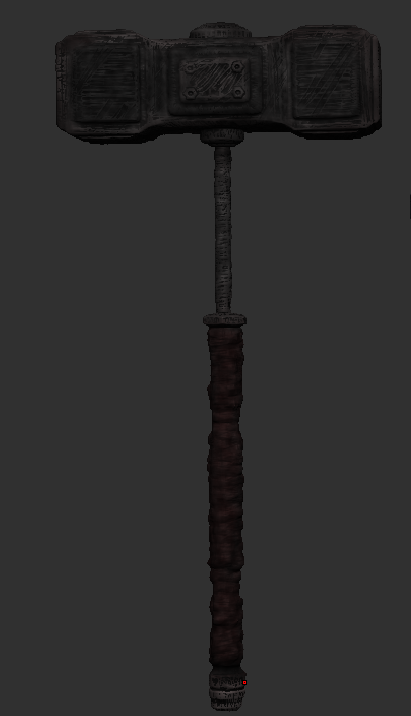
Sledge Hammer –
Basecoat, Stone Grey. Colour built up, greyscale and burgundy. Cavity, black. Sprayed over with dark brown.


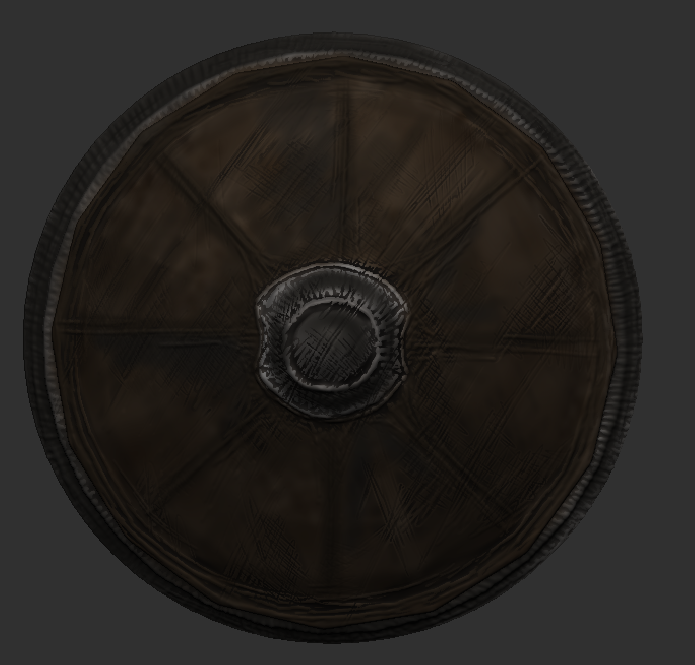
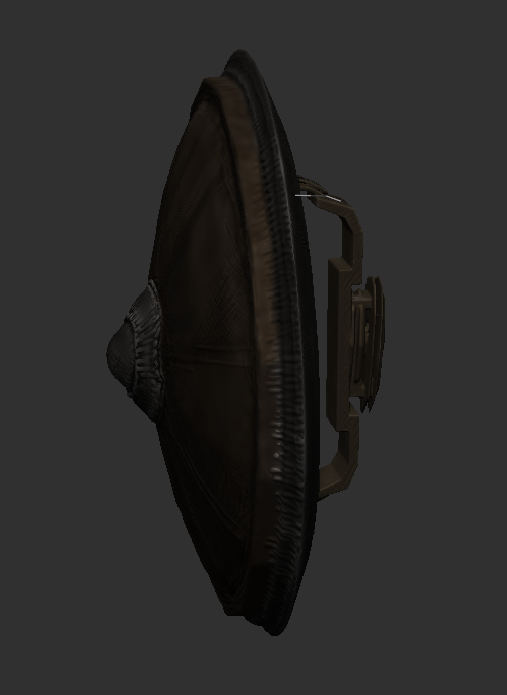
Shield –
Basecoat, light brown. Colour built up, shades of browns and metallic grey. Cavity, black. Sprayed over with black.
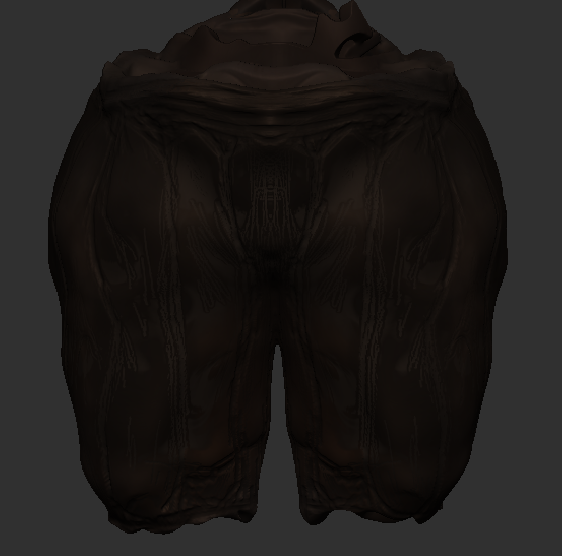
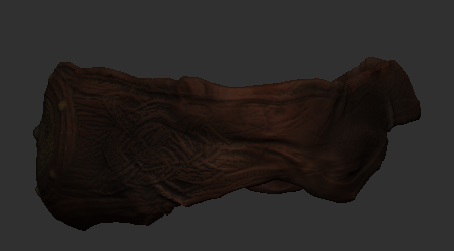
Trousers –
Basecoat, orange. Colour built up, brown and burgundy. Cavity, black. Sprayed over with dark brown and white.
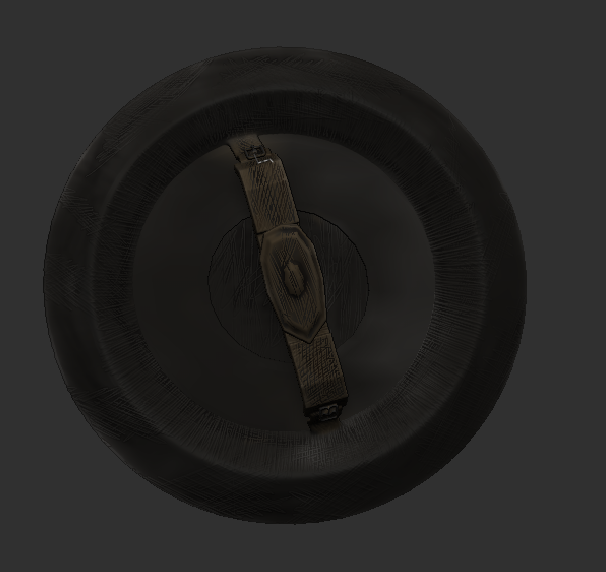
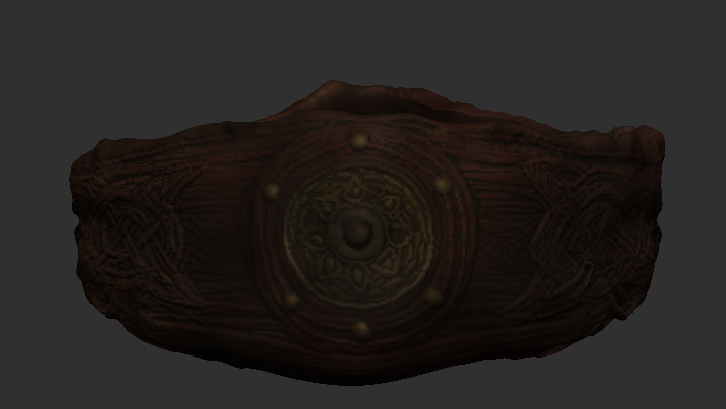
Belt –
Basecoat, orange. Colour built up, brown, burgundy and golden yellows. Cavity, black and green. Sprayed over with dark brown.
Clothing Together:


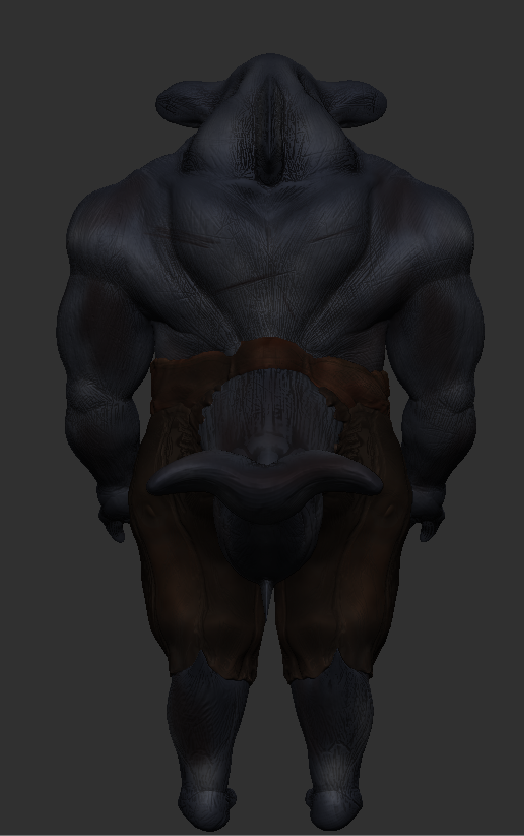

Turn Table:
For the next post, I will be learning and applying lighting to my model.