
For this week’s task, I am experimenting with different camera lengths and angles that could be used towards filming the final piece. I will be filming various shots and merging a few of these to create a short sequence within the software After Effects and Adobe Premiere.
Effects that I could use within these sequences would be :
-Motion blur
-Fish Eye
-Exposure
-180 Shots
-360 Shots
-Ambient Occlusion
-Clean Slow-Mo
Before I start filming, I want to plan out a short storyboard that I could use as a rough guideline for the sequence. Sticking with the editing of speed as a theme for my project, I have a short scene in mind that I would like to re-create influenced by one of the X-Men films, where there are different shot types and effects all merged into a sequence.
This scene above uses multiple effects and camera angles to show the character’s movements with speed. I want to be able to re-create a few of these elements within my own piece, especially the zooms and overlaying shots blended within each other.
Experiment Sequence 1 –
In order to create this scene, I needed a few shots first. Using my camera, I picked an area of focus (Outside my house) and began filming.
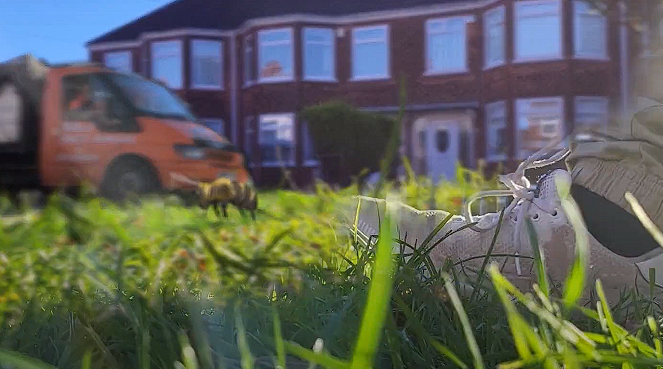
Result –
Overall, I am happy with this end result, it features all of the main camera angles I have tried to achieve by taking influence from the quicksilver clip.
Sequence 2 –
For this sequence, I wanted to use different camera shots and blend them together to create a third-person running scene to be used potentially for my project. These scenes will specifically be used to mainly switch the perspectives and shots clearly with the video, showing depth into the speed ability so it’s not all aerial view footage.
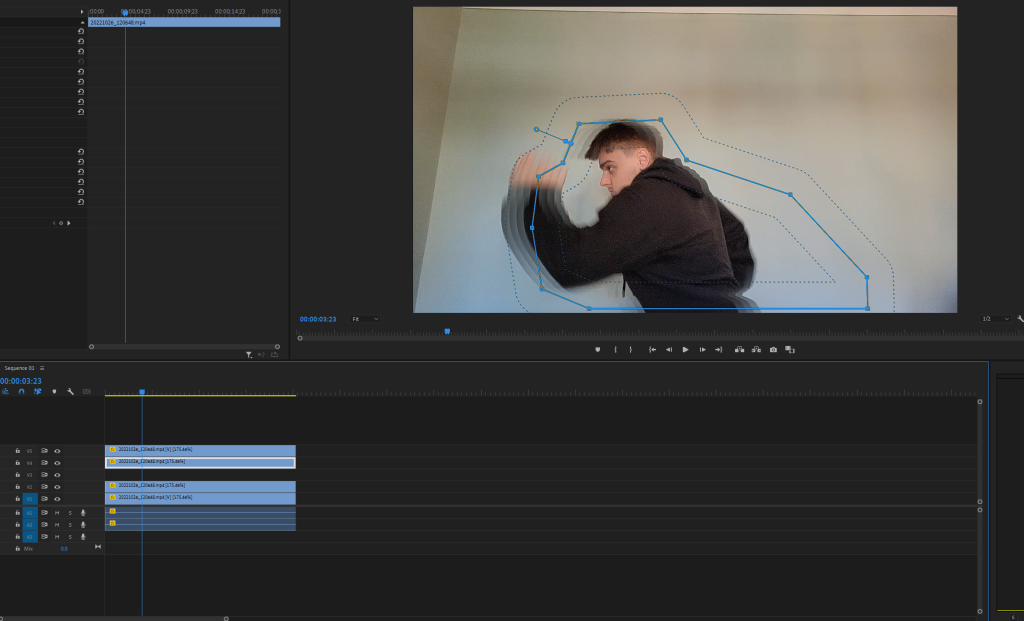
To begin, before layering the footage onto one another, I had to mask frame by frame the rotation clip. This clip was the most important to get precise as this would be the base layer upon all of the background footage and effects that will be added. Once the mask was complete, I duplicated this layer three times and positions them with a lower opacity displaced slightly each time to generate a delayed effect. This effect when sped up will help create the exaggeration of the character’s body movements.
As soon as the first clip effects were complete, I moved on to adding it to the first background of the road footage. Combining both of these clips was easy to accomplish, all I had to was mainly layer the scenes onto one another and used colour correction to produce similar tones. This method was used within all the scenes to blend them perfectly.
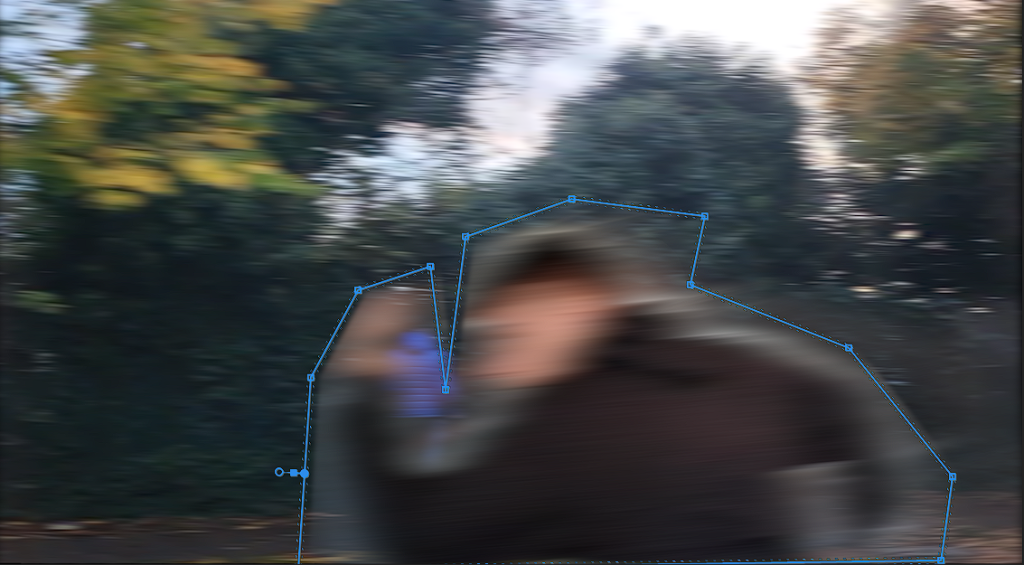
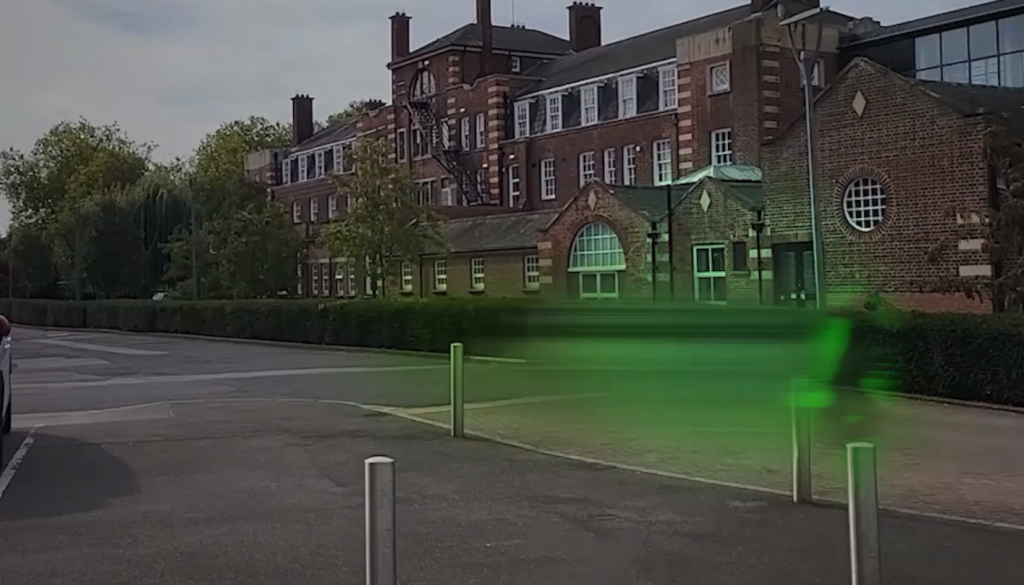
After blending the scenes I began adding extra details, such as using a directional blur, this is to effectively show how fast the character is moving. The body is moving so fast that it’s becoming harder to see the figure running, throughout the video I want to develop this further and have the figure dissolve into a streak of lightning speed.
Result –
Overall, this has been an effective end result for camera experimentation. It shows the rotation of different sides of the character when running into different scenes, front, side and back. When making my final outcome, I want to continue this blend of angles to show the character’s journey more efficiently with in-depth shots.
Sequence 3 –
For my third camera experimentation, I thought to use the software Unreal Engine to capture different angles of a character while running, and recording action shots. Within this software I built a small roadside scene for my character to run along like a set, this seemed to be really effective as I could experiment with all of the movements of the character, making him more of a stunt double which I could convert into the real world.
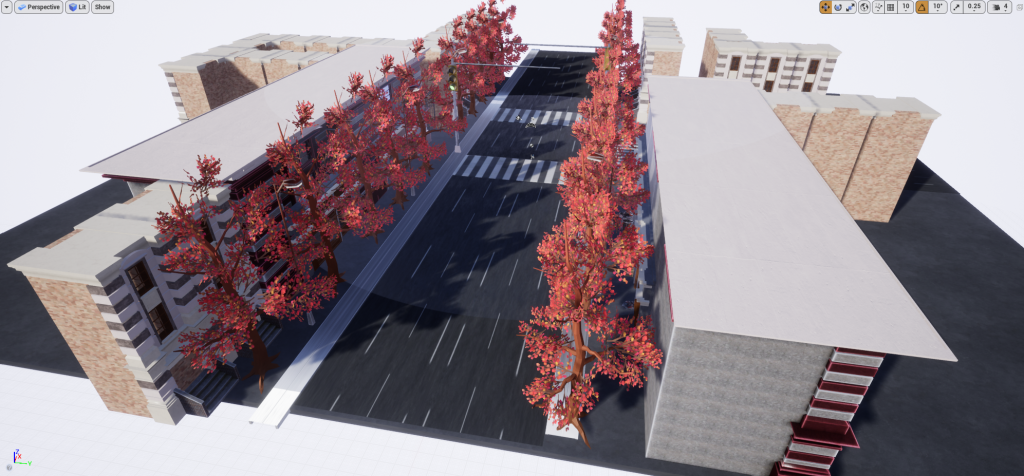
Later on, after I had these shots how I wanted them I then converted them into reality using Adobe After Effects to mask them into existence. I ended up liking this method quite a bit when experimenting, I may use this for most of my footage towards the final piece’s outcome.
Result –
Sequence 4 –
After experimenting a lot with a third-person perspective, I decided to try out a different approach for the viewer. I used my chest mount tripod and began filming shots in first person. There were a lot of issues when doing this method due to the daylighting casting shadows so it was hard to create the running illusion without actually running. The slow-mo segments added helped variate the tempo of slowing and then speeding up.
To conclude, this whole experiment has been useful in displaying different camera works and how they could be applied to my project.
In the next post, I shall be working on lighting within my project and showing I could use it effectively.