This weeks task was to experiment and learn about UV Mapping on an object, creating a map and applying a texture to it.
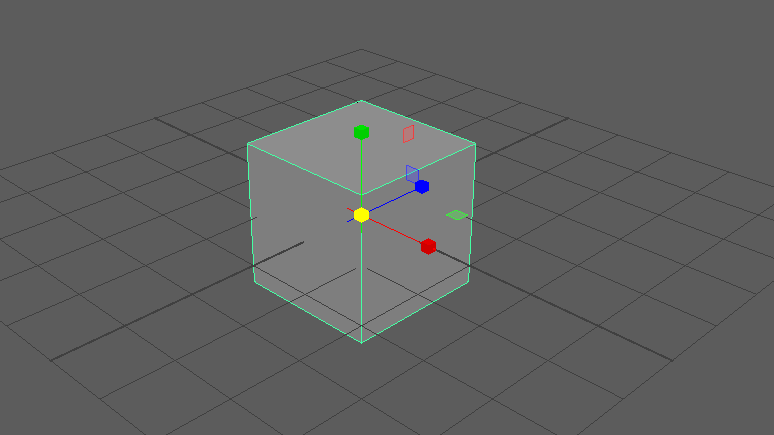
As a start we was asked to produce a cardboard box by following a simple tutorial video. First of all I began with adding a cube poly and scaling it to a more visible size.
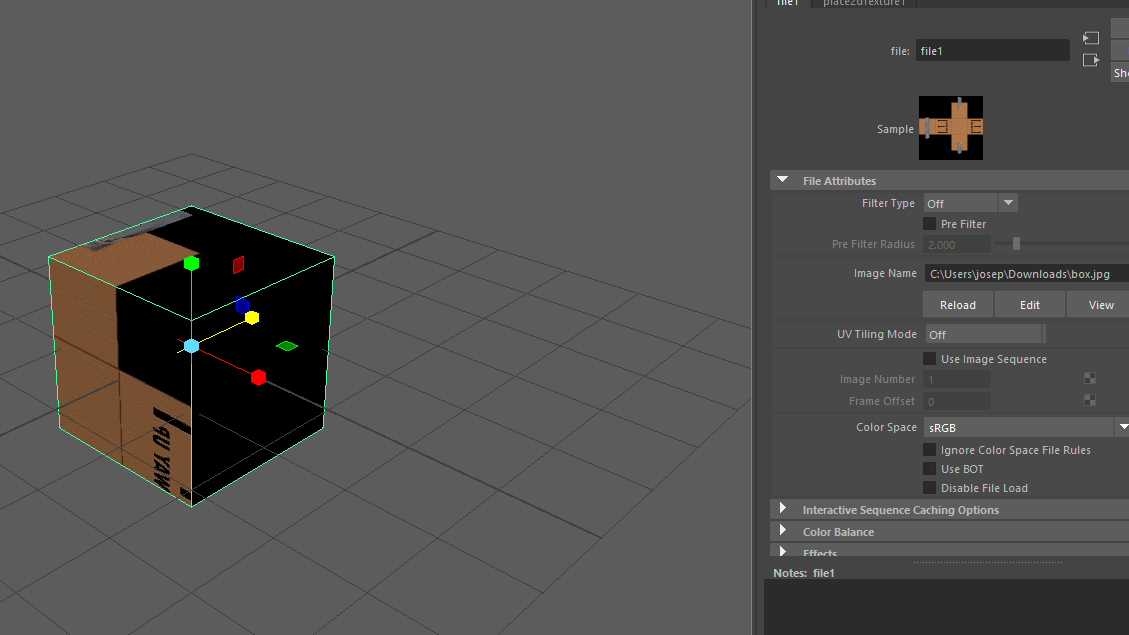
Once the shape was there I added a new material, the box net. This texture was not organised at first, the appearance was very stretched and half filled so i went into the UV tools and clicked automatic.
Now opening UV editor I could see the box textures net and the faces of the cube. The faces here was mapped out incorrectly so I began to break them up and rearrange them.
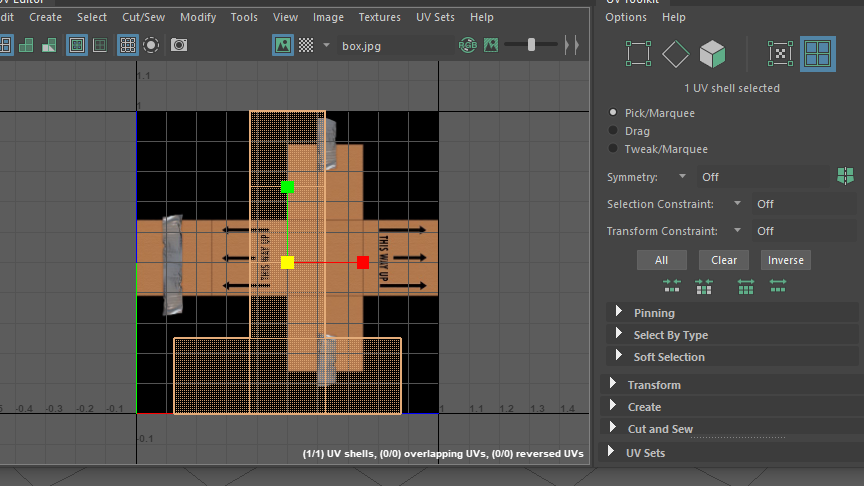
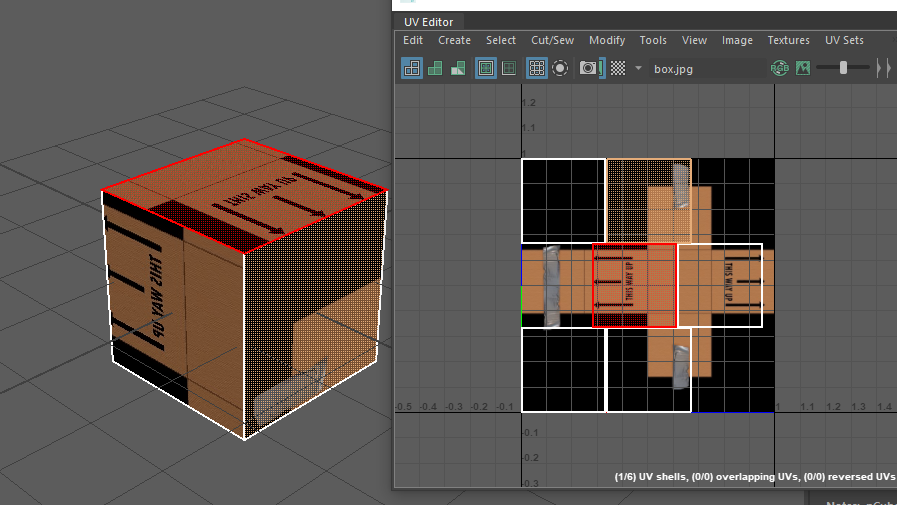
After I placed then into the correct order I used the cut and stitch tool to combined the edges together, this took a few attempts at first as I had to rotate and pick the right edges in order to create the correct type of net.
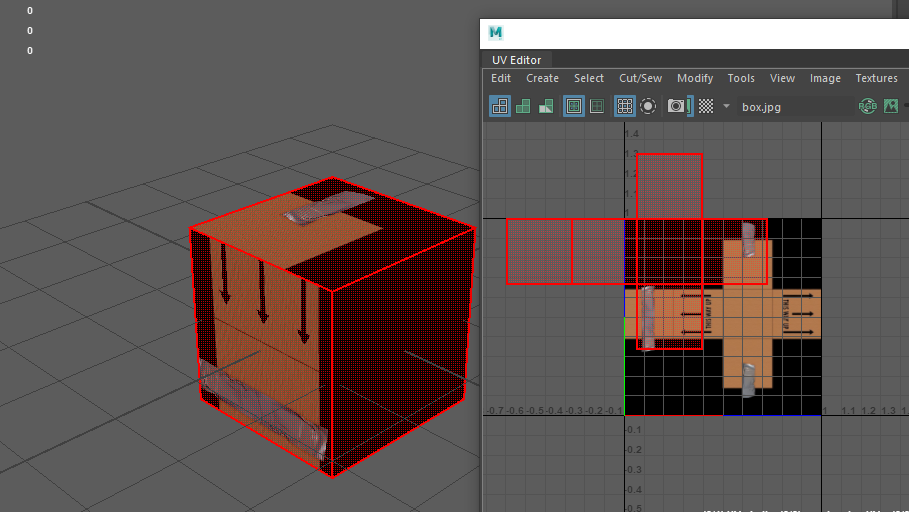
When that was complete, I scaled the net to fit the texture using the UV points to get an accurate edge. The final result came out flipped for some reason, I didn’t know how to fix this until later on.
Once the box was completed I decided to have a go on my own and try and create a Coke can using some of the techniques I’ve learned.
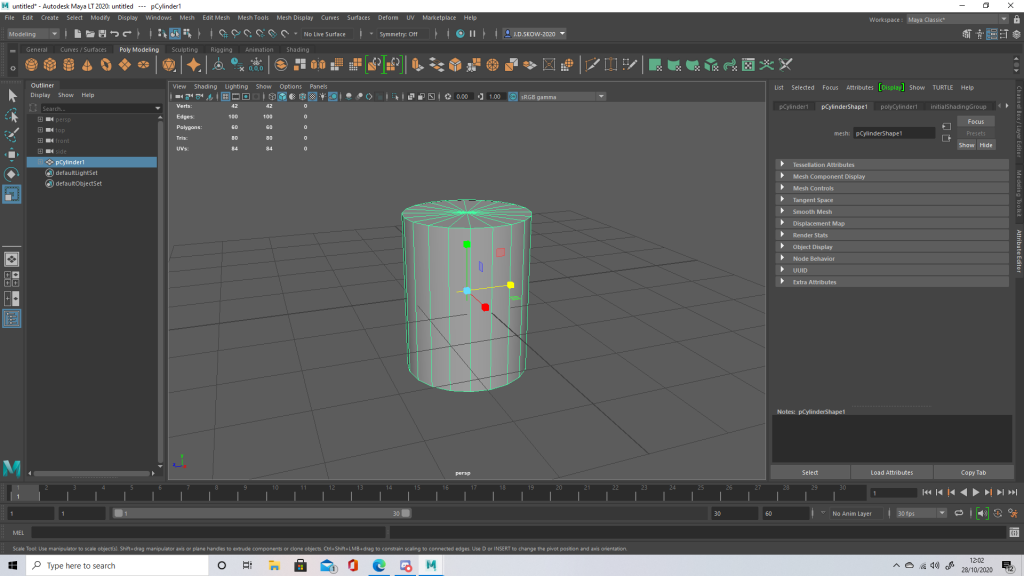
First added a poly cylinder to the surface, creating edge loops around the top and the bottom of the shape. By doing this I was trying to achieve more of a round edge of the can like I’ve seen but in order to get the top and bottom correctly I had the extrude slightly.
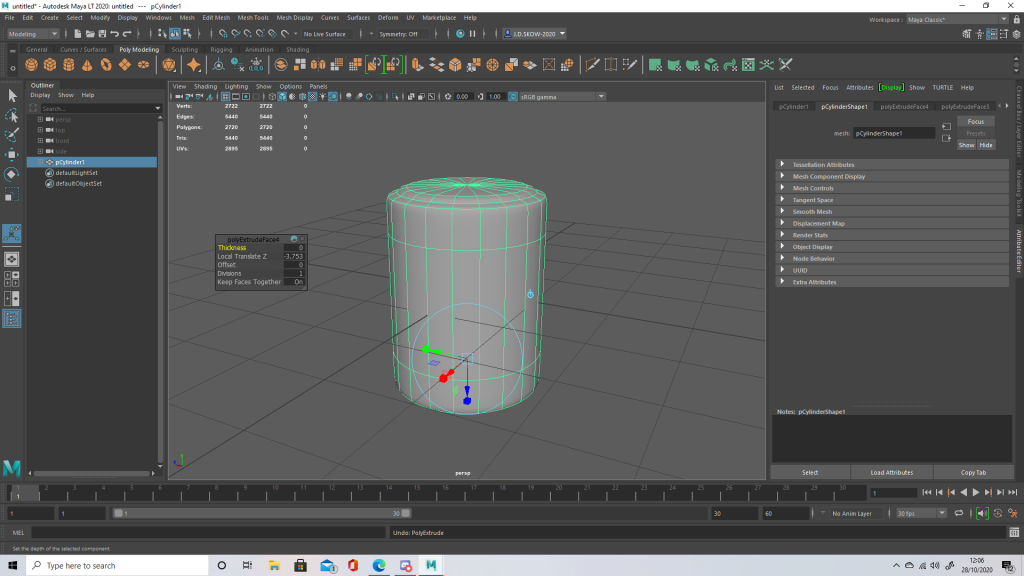
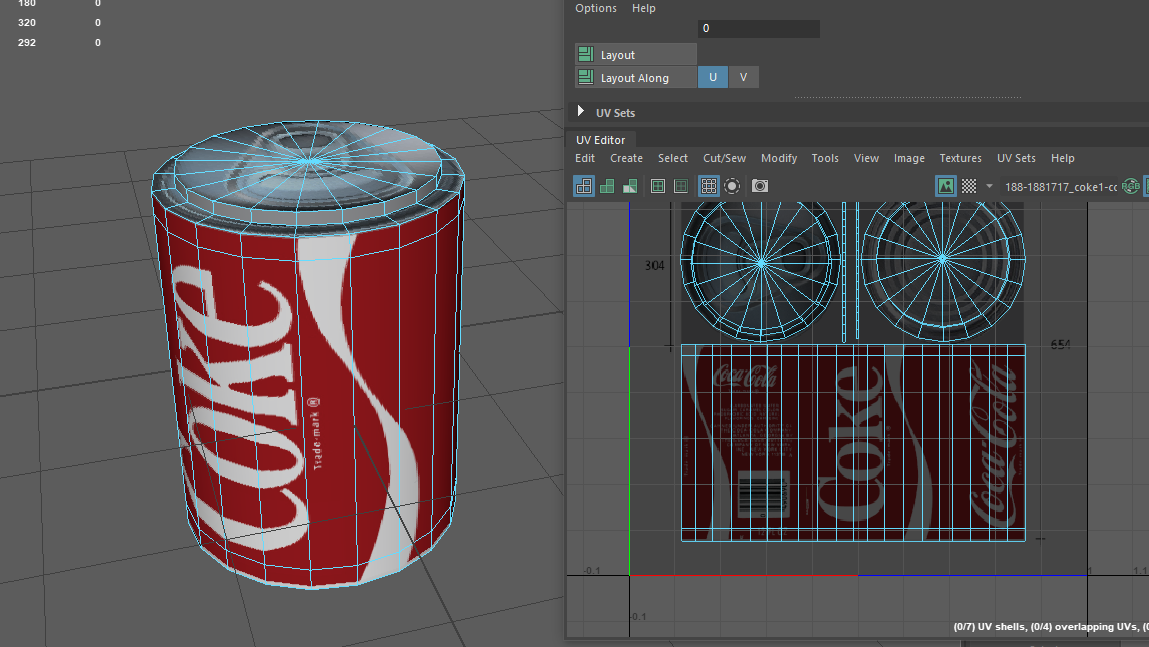
After gaining the rough shape of the can I started to create the UV Map. The faces on the map were all organised with the layout tool, this gave a gap of 10 pixels between each shape. The top and bottom extruded points were disconnected loops at first however so i simple stitched them up so texturing would be easier.
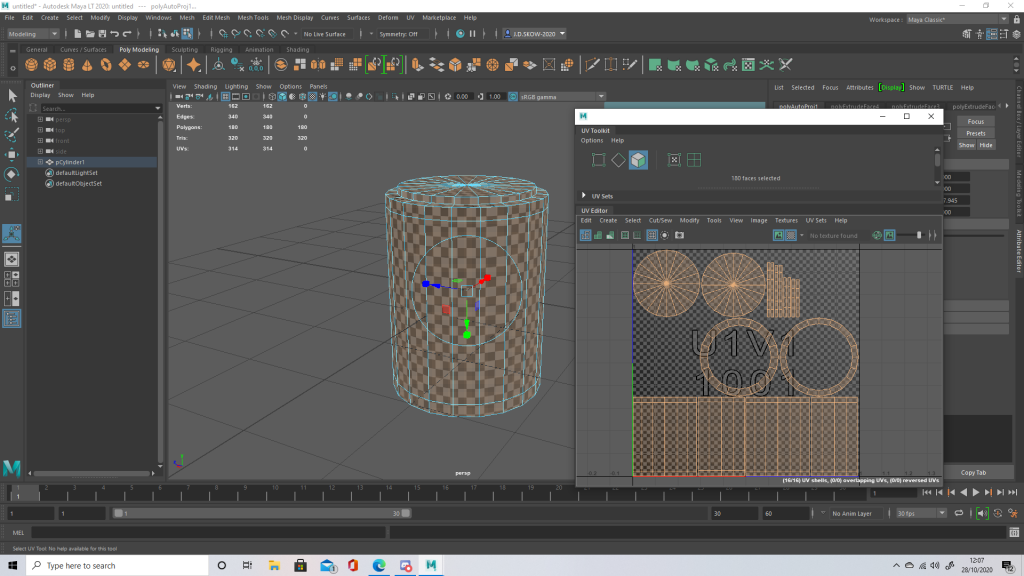
Once the texture was applied, I went and positioned the shapes into the right textured area.
I had the same problem with flipping here, the texture seemed to of appeared backwards so I had a good looked at the tools and learned how to fix it.
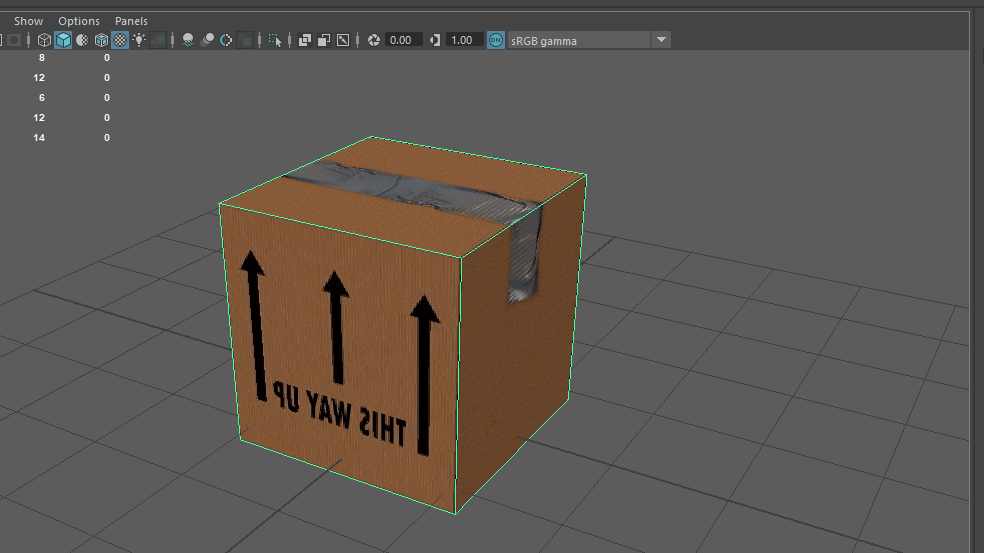
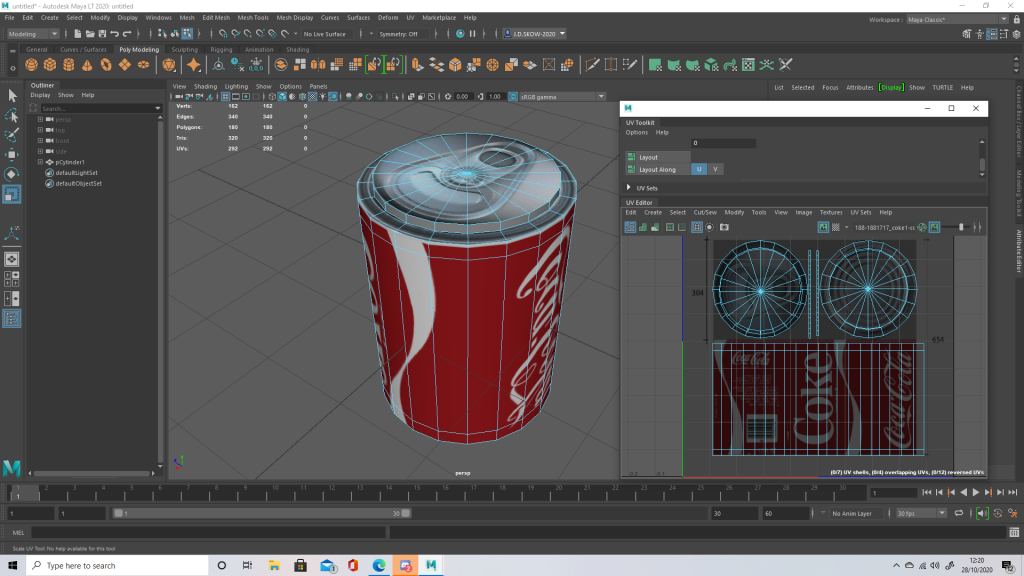
Result:
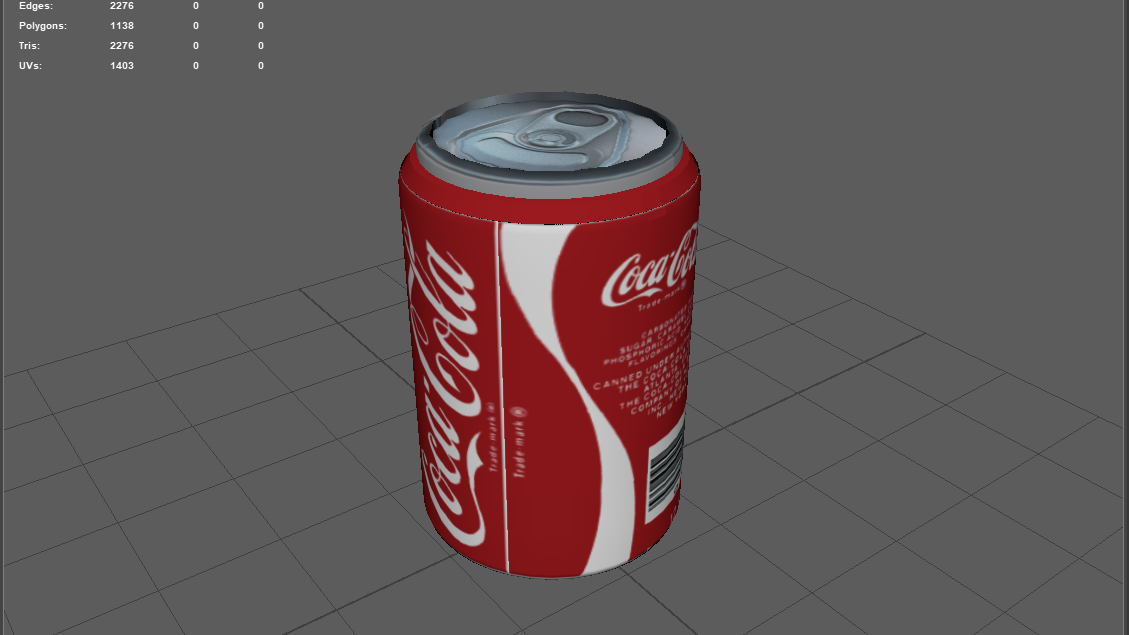
The result for this didn’t turn out too bad actually, the only thing that I don’t particularly like about it is the loop between the top and the middle. To improve, I think I would have to tidy up the UV points a bit more because at first I had problems with the textures been stretched and out of place.
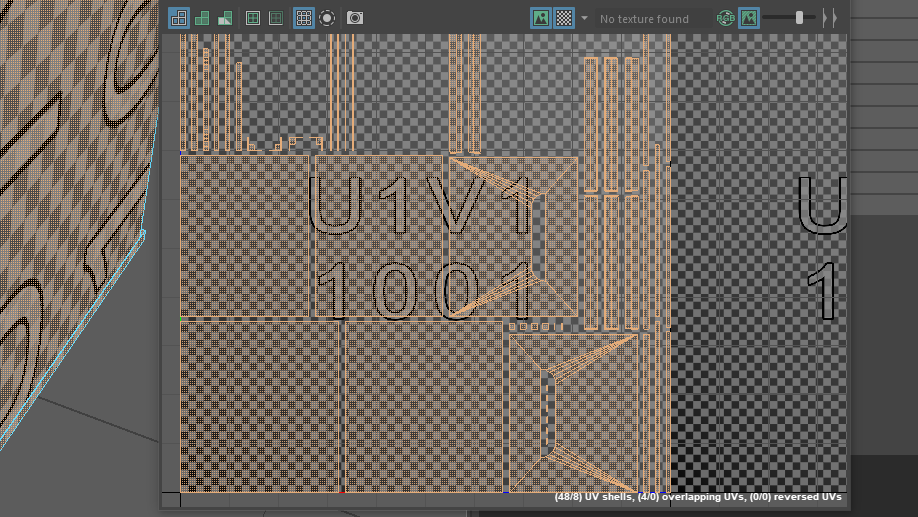
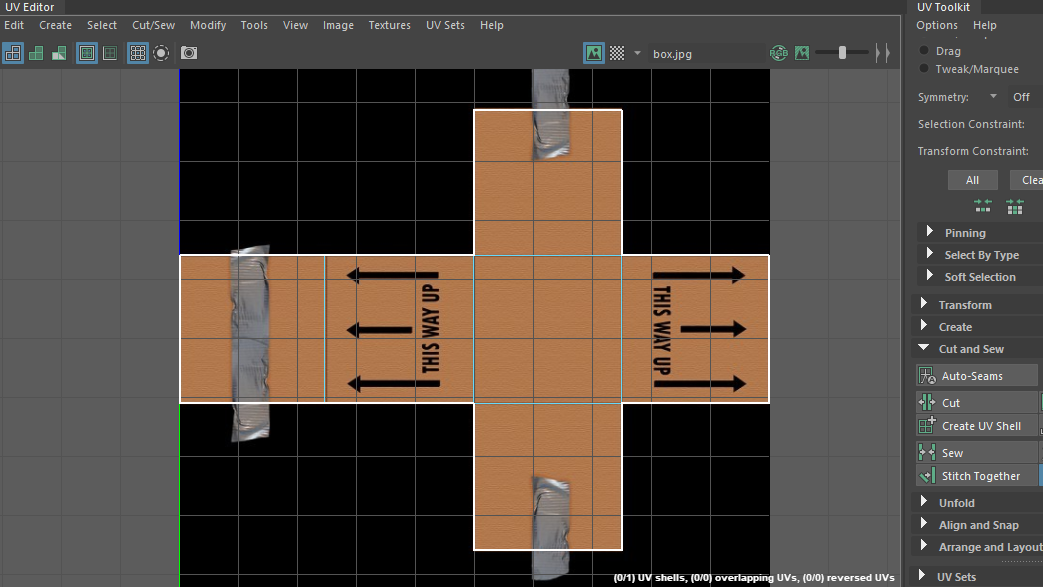
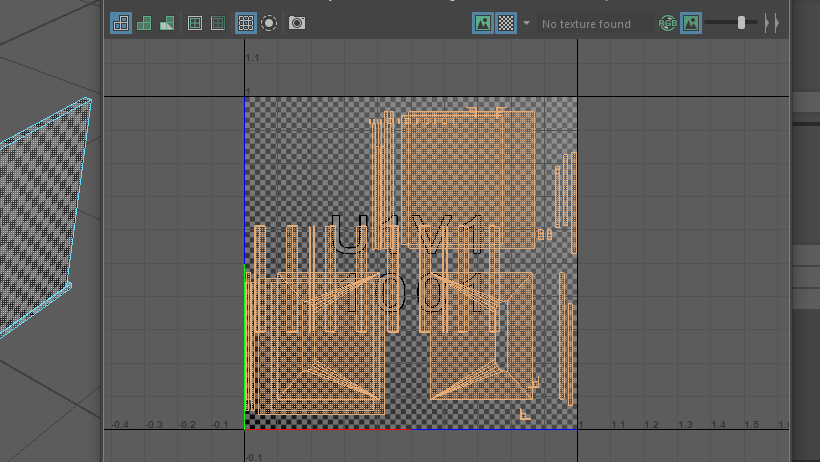
Now moving onto my final task, unwrapping the low poly crate. i had technical problems with unwrapping my low poly version because of the vertex points so I unwrapped the example crate given.
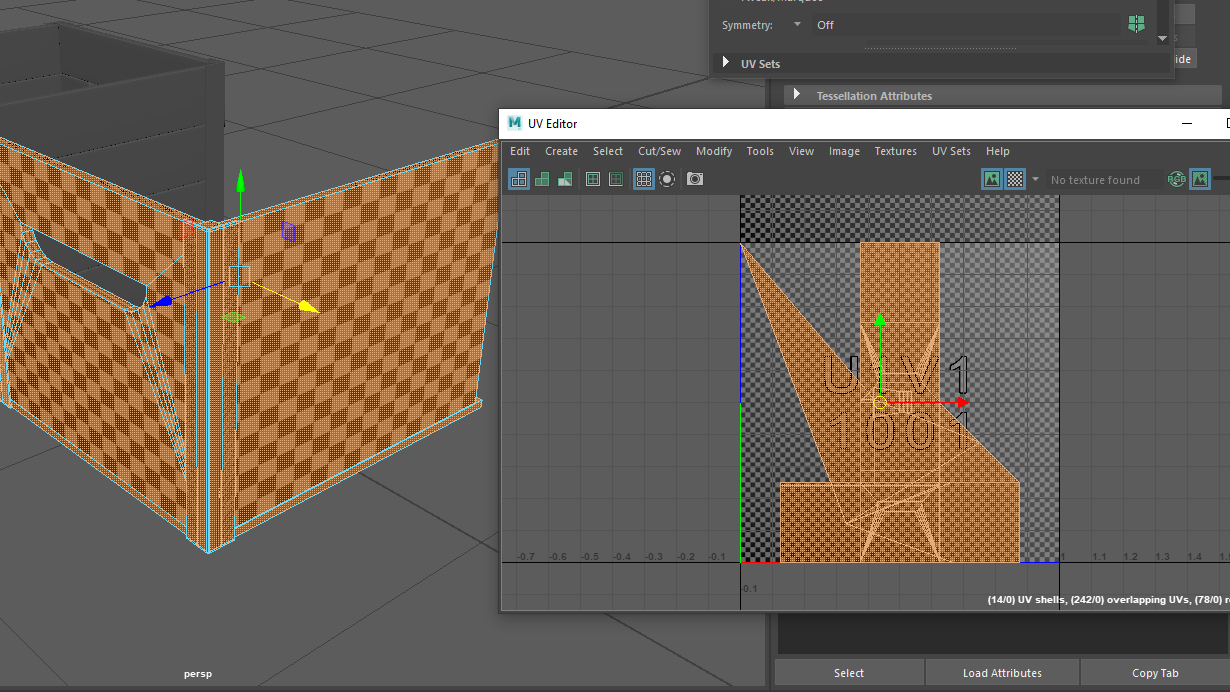
By using the UV editor tool again, I gained a very messy net at first so my job here was to unfold the shape.
After doing this the shapes seemed less hectic with not a lot going on anymore but everything was still being overlapped. Underneath the handle section was broken up into multiple strips of shapes so I simply just stitched them together.
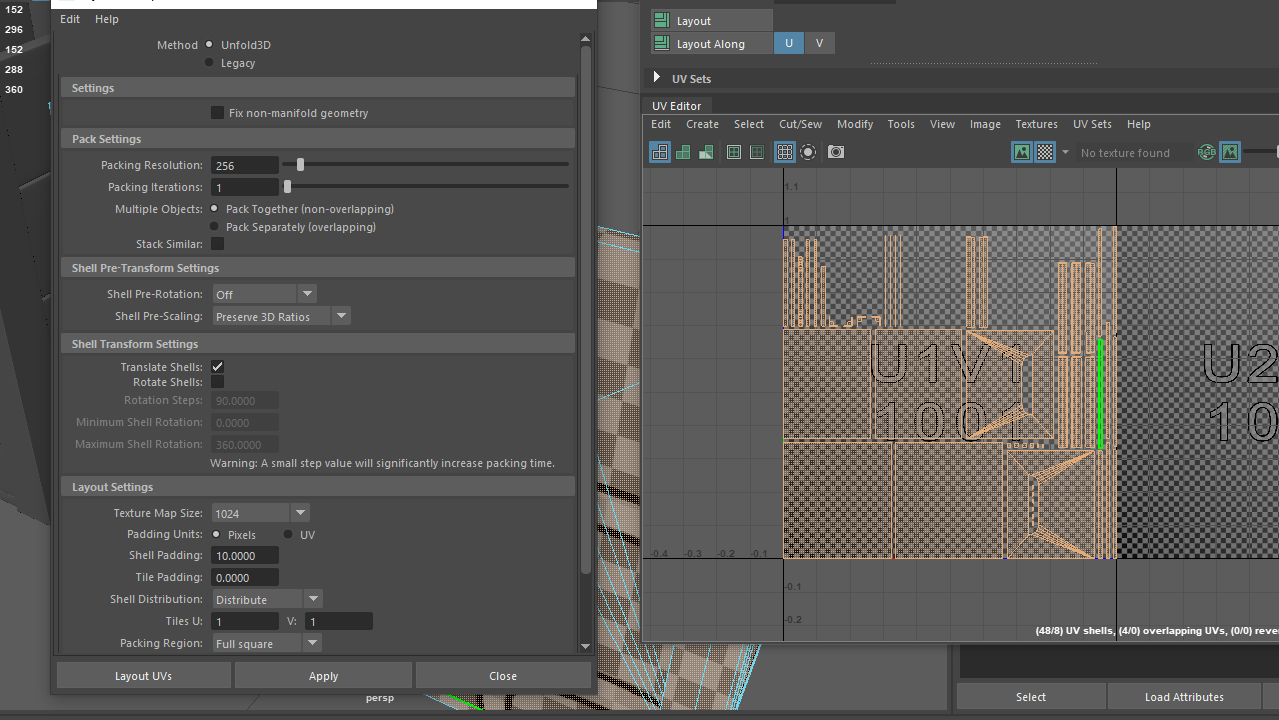
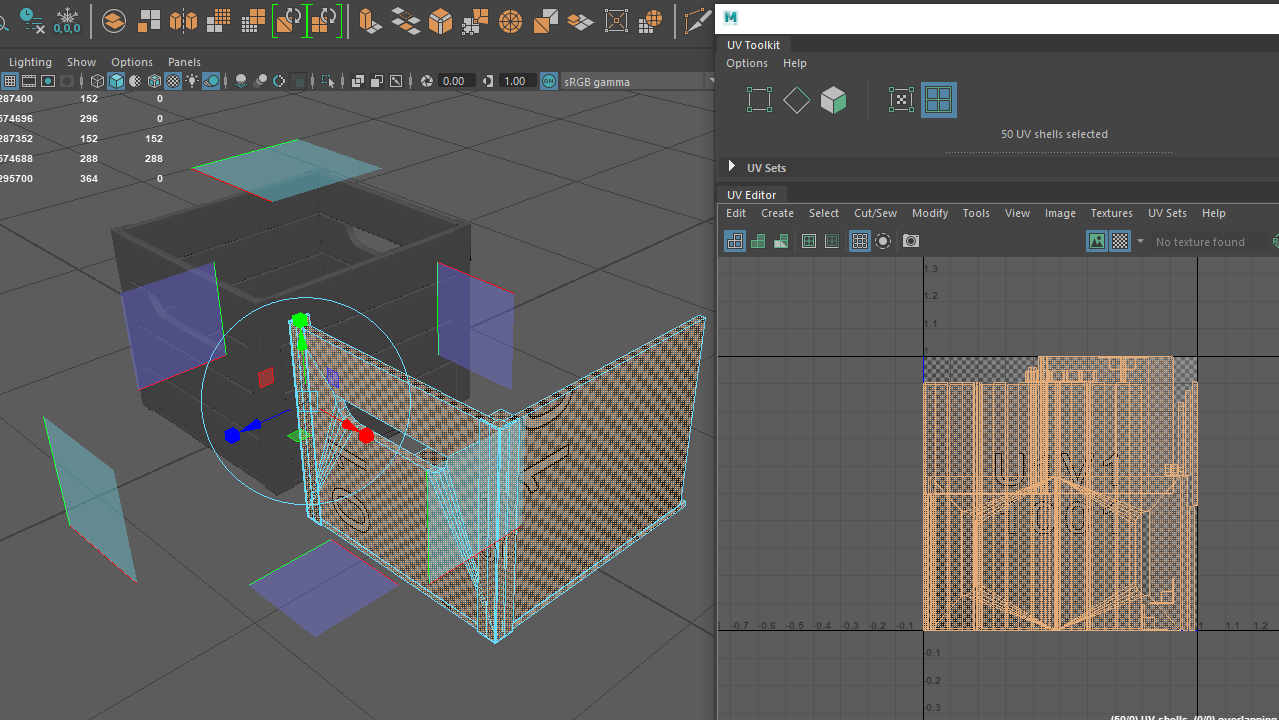
Once all that was done I went into the layout options and made sure that the pixels between was about 10, this neatly organised each shape into the textured area evenly.