Asset 3:

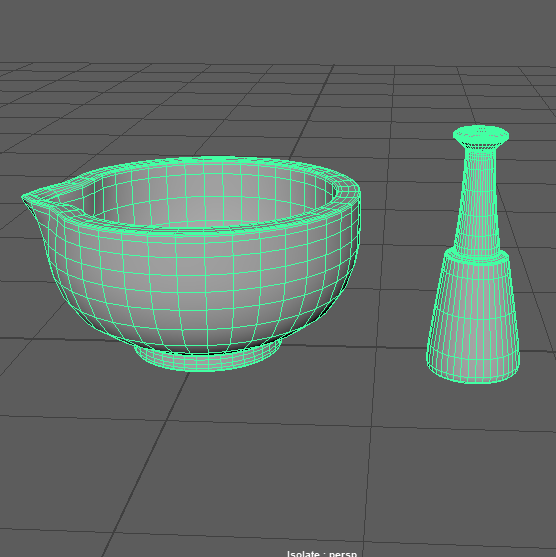
The Mortar was constructed with the start of a flat cylinder poly that got extruded upwards and out to create the form of a bowl. Edge loops were made tighter at the base of the bowl, this was to show less of a curve on the base so the bottom of the mortar could stand up properly. The thickness of the Mortars was developed to be not too large as I was planning to have the pestle sat inside of the model, resting against the edge.
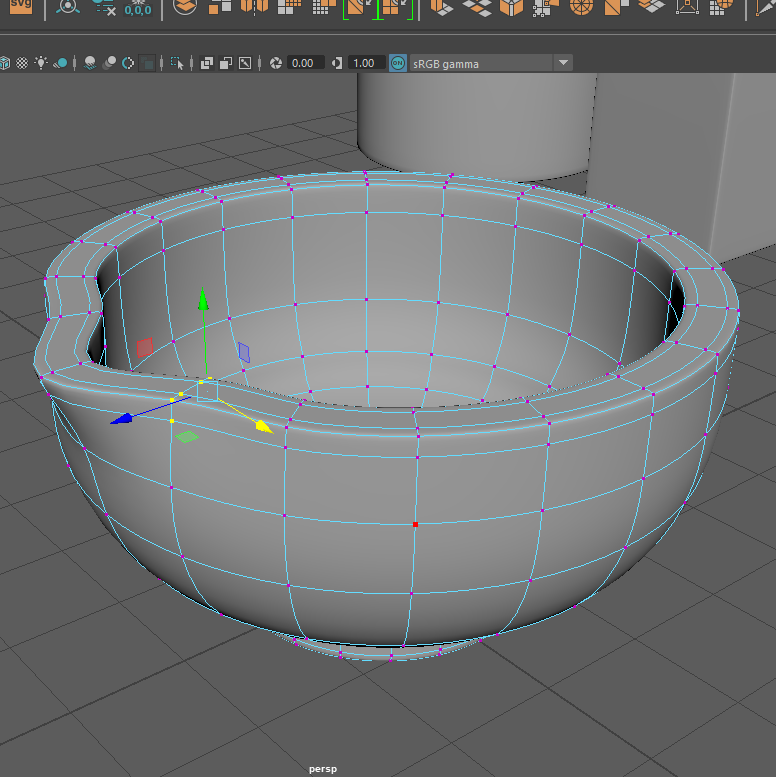
To create the slope of the Mortar I went into vertex mode and moved the points evenly by selecting the same amount each time. At first, I realised my edge loops were too tight on the top of the asset, this made my slope look less curved and sharper so I used edge mode and moved the edge loop slightly lower to increase the smoothness.
The Pestle was more time consuming however as I was debating on what type of poly I should use to make it. At first, I tried using a cube poly extruding it upwards into the correct shape, this ended up looking alright until I needed to add the edge loops in. The edge loops made the asset to cube-like so took a different approach and used a cylinder poly to make the base.
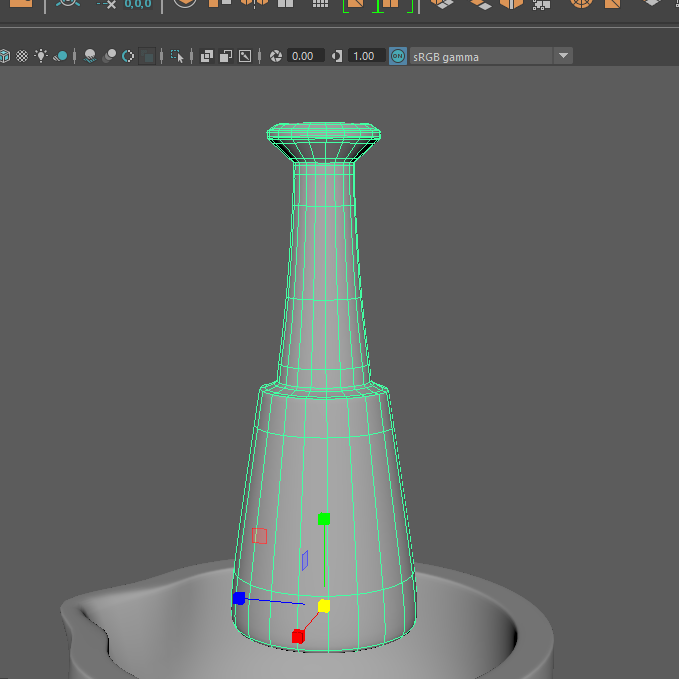
The cylinder poly ended up being more effective, I was able to create the right forms of the asset without losing shape because of the edge loops. Towards the final touches of the model, I thought it looked slightly compact with the handle so I adjusted the scale until it was evenly the correct size not just for the single asset but for it to be able to fit neatly in the Mortar.
Asset 4:
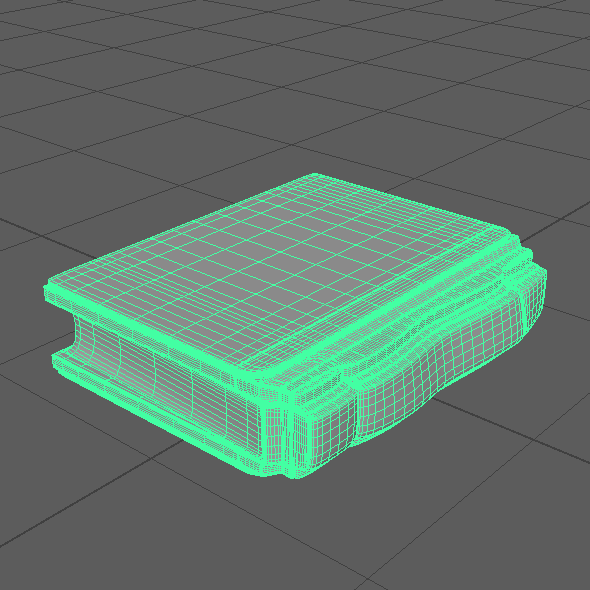
For asset 4, I wanted to create a book with a hard back and front cover.
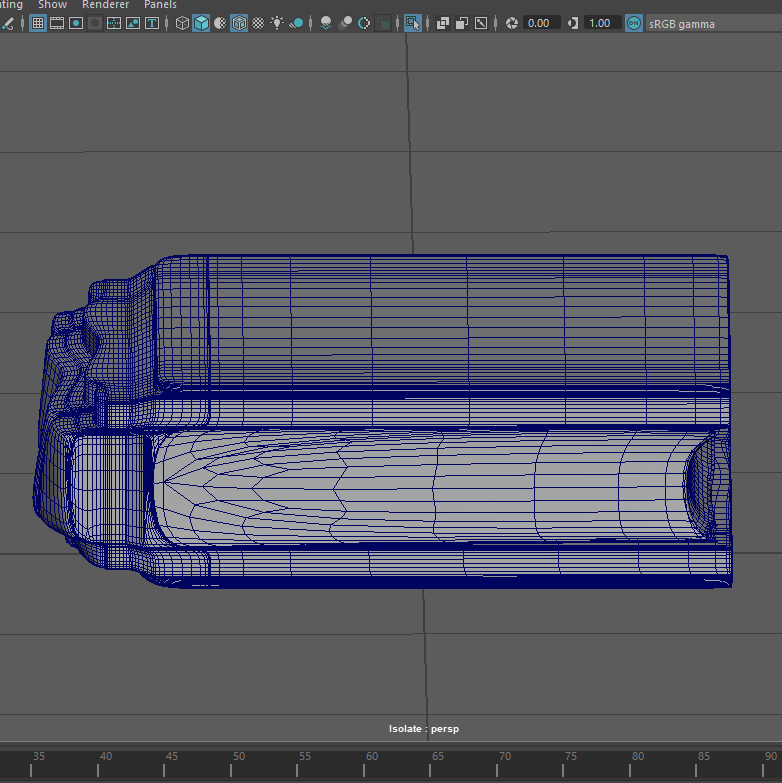
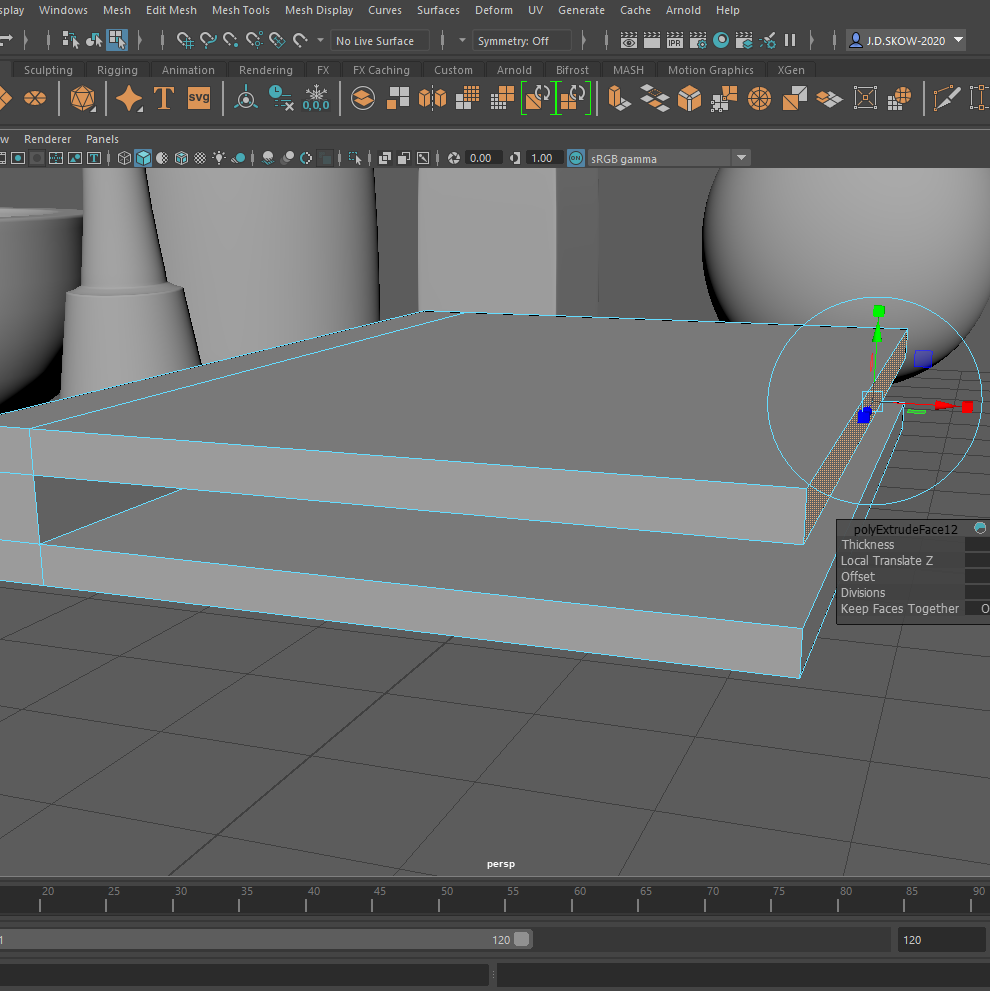
To begin I scaled a cube poly and flattened it, extruding the left side out and upwards to create the side of the book then brought the shape back round with extruding to the right. By doing this I have successfully created a basic template of the book cover, the type of book I want to make has a little more thickness to the top of it with bumps along the spine. To achieve, I extruded the stem section changing the offset slightly each time to create a slope. Vertex mode was then used to adjust some of the points of the curves, I did this until I was happy with the shape.
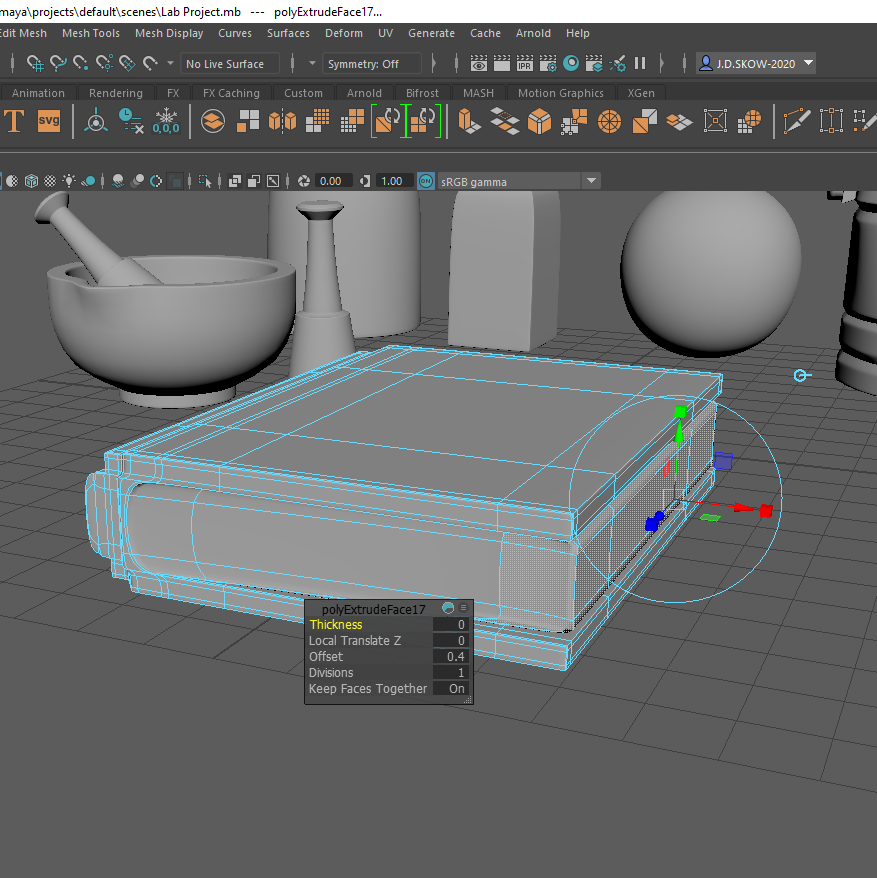
The paper within the book was a struggle at first, I ended up extruding from the right centre of the stem. Then edited the scale and offset of the end faces, this made gave the cover the bigger appearance compared to the paper.
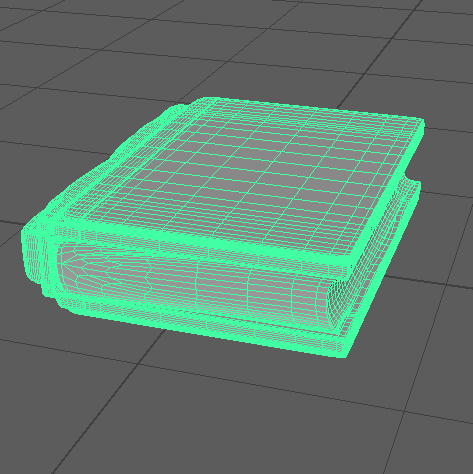
To make the appearance of paper within the cover, I adjusted the end vertex points curving them inwards slightly. By doing this I was hoping to achieve more of a built-up page look, being squashed by the cover.